Once we pivoted to the slab, things moved very quickly. It was only a week or two before we put hammer to nail on the formwork. The change of design required some additional site prep, but the extra work was more than offset by the time and cost savings of the monolithic slab. To read about how we decided on a foundation, read my last post.
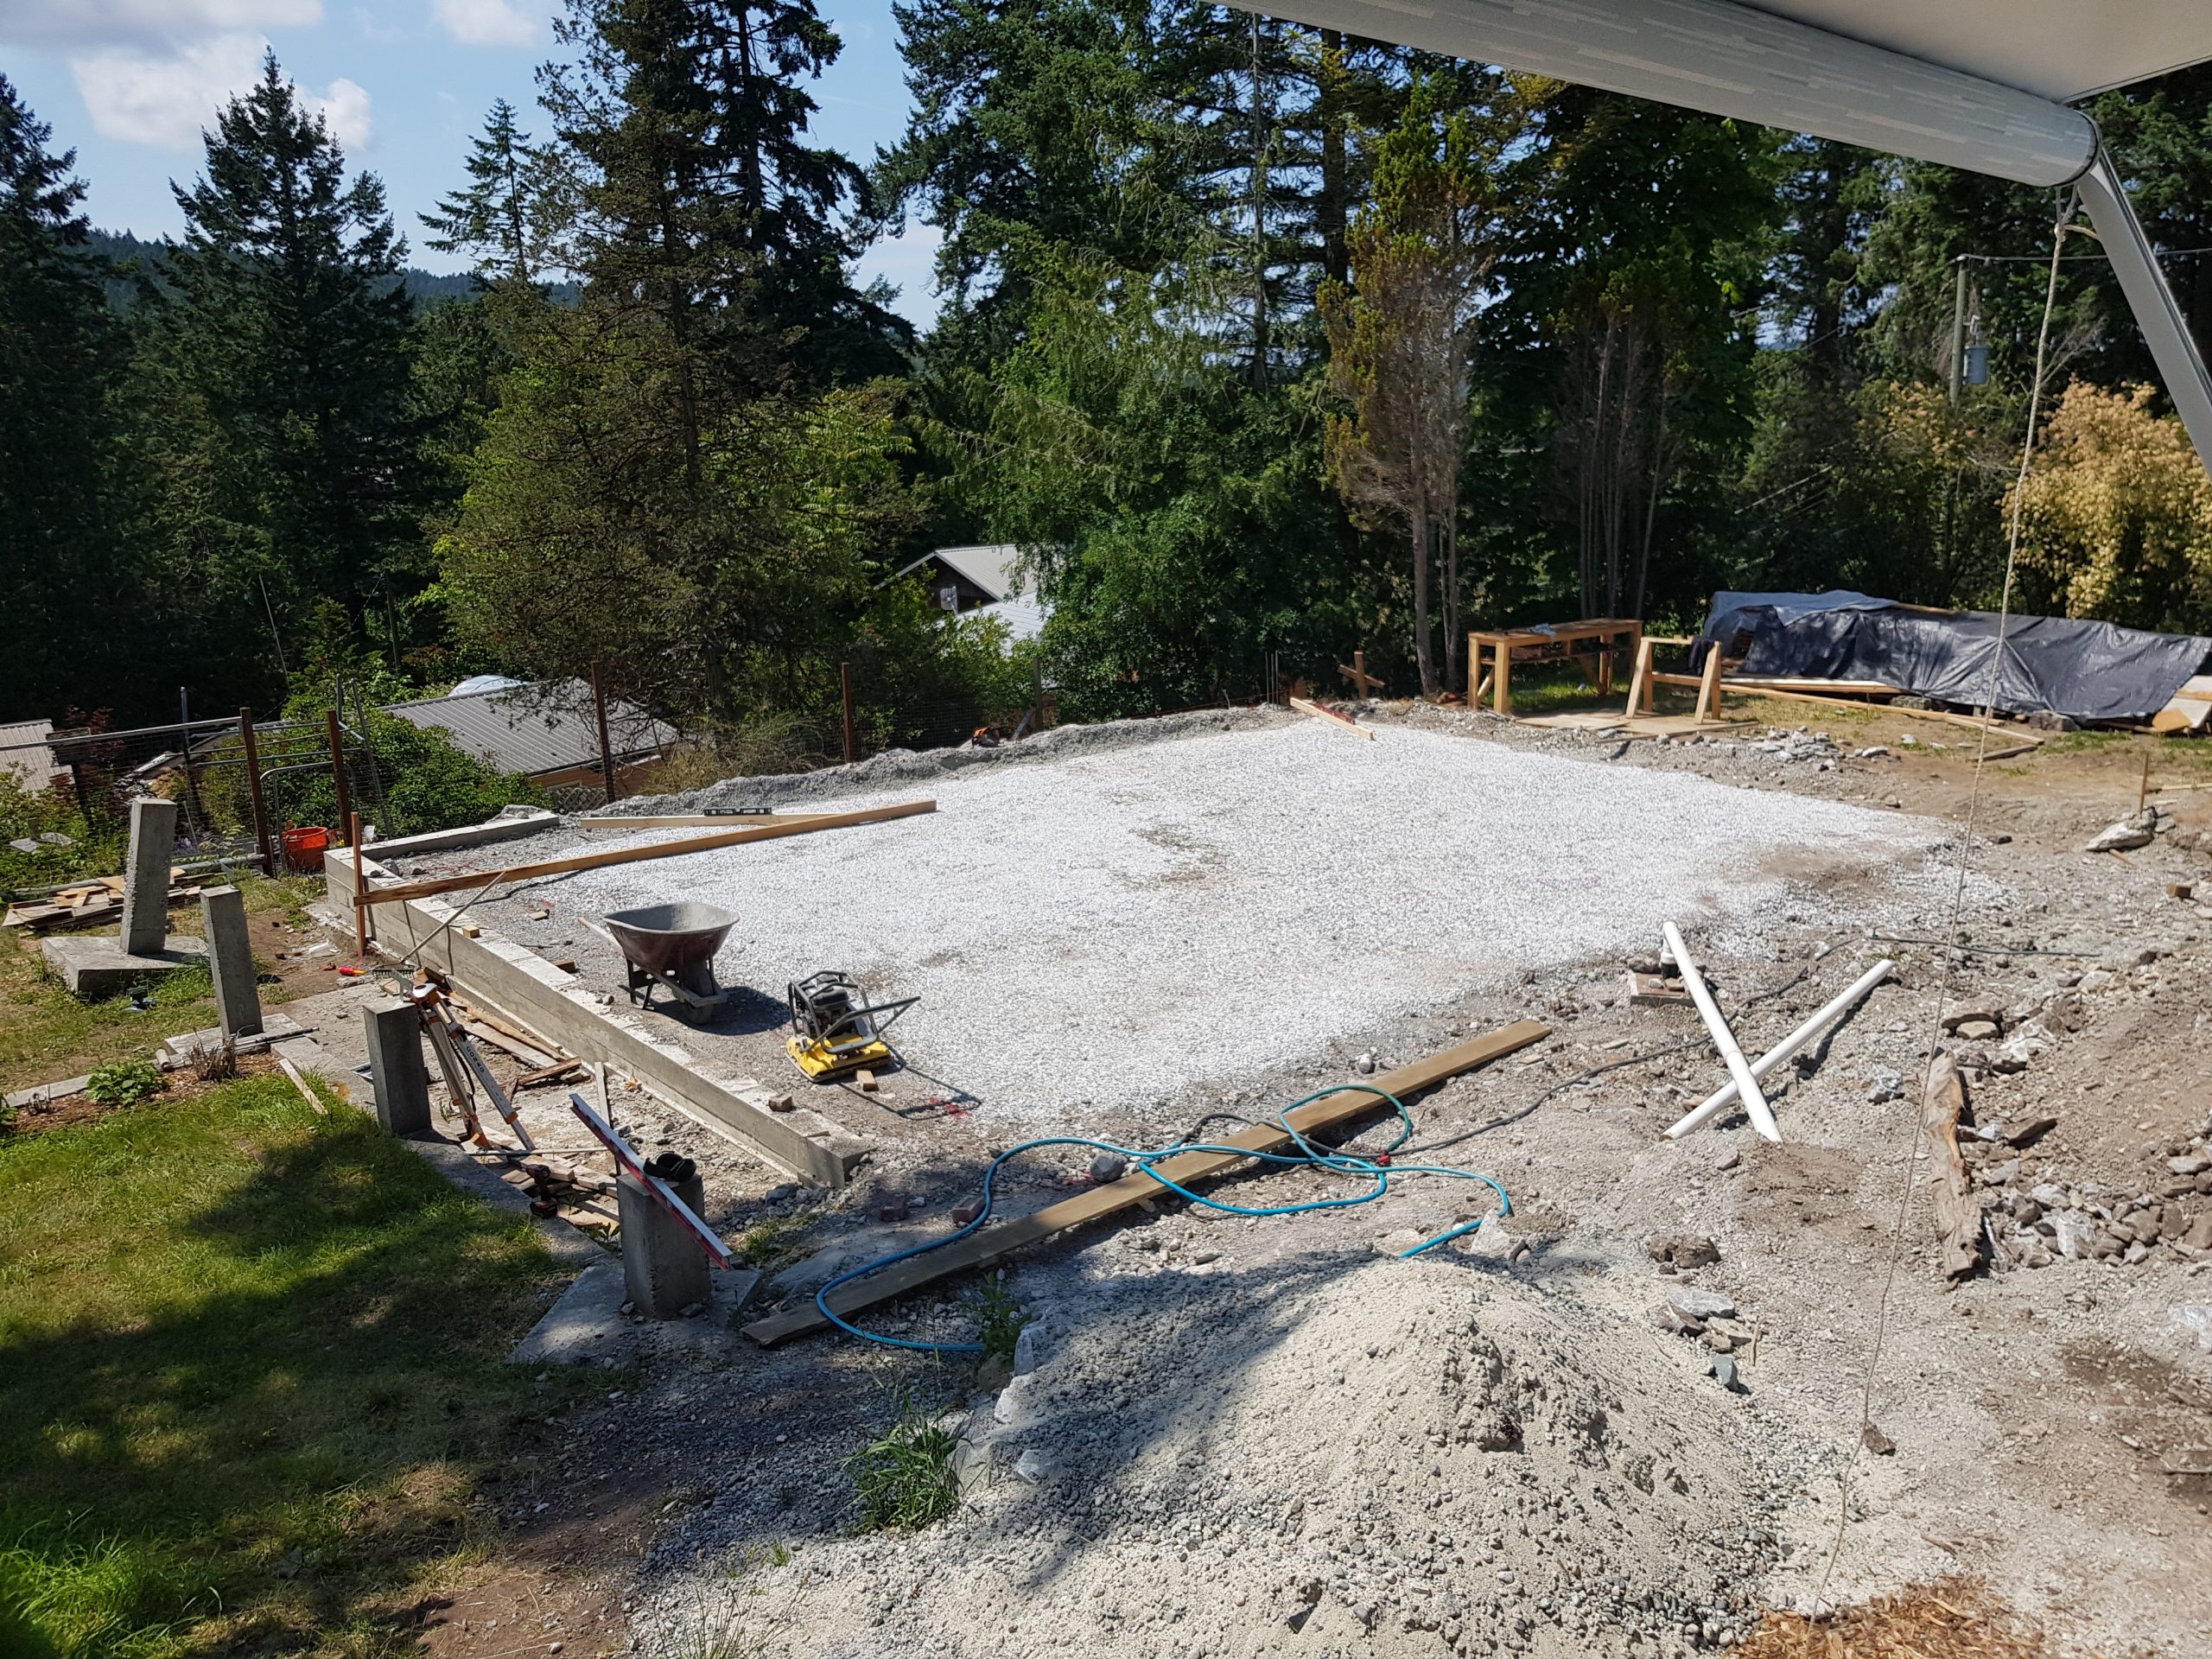
Before I could start on the formwork itself, I needed the site perfectly level. I rented a builders rotary laser level from the mainland (a 35 minute ferry ride away) and a 300lb compactor locally. We removed the large rocks and added a few cubic meters of gravel and high drainage washed aggregate. We alternated compacting and raking the surface until it read mostly level with an ordinary bubble level. Then, with the builders level, we went back and leveled it to within 1/10th of an inch all over. I dug a 6 inch deep trench the dimensions of the house with tapered edges, creating a slightly raised platform within a dugout perimeter in which the footings would sit and compacted that as well.


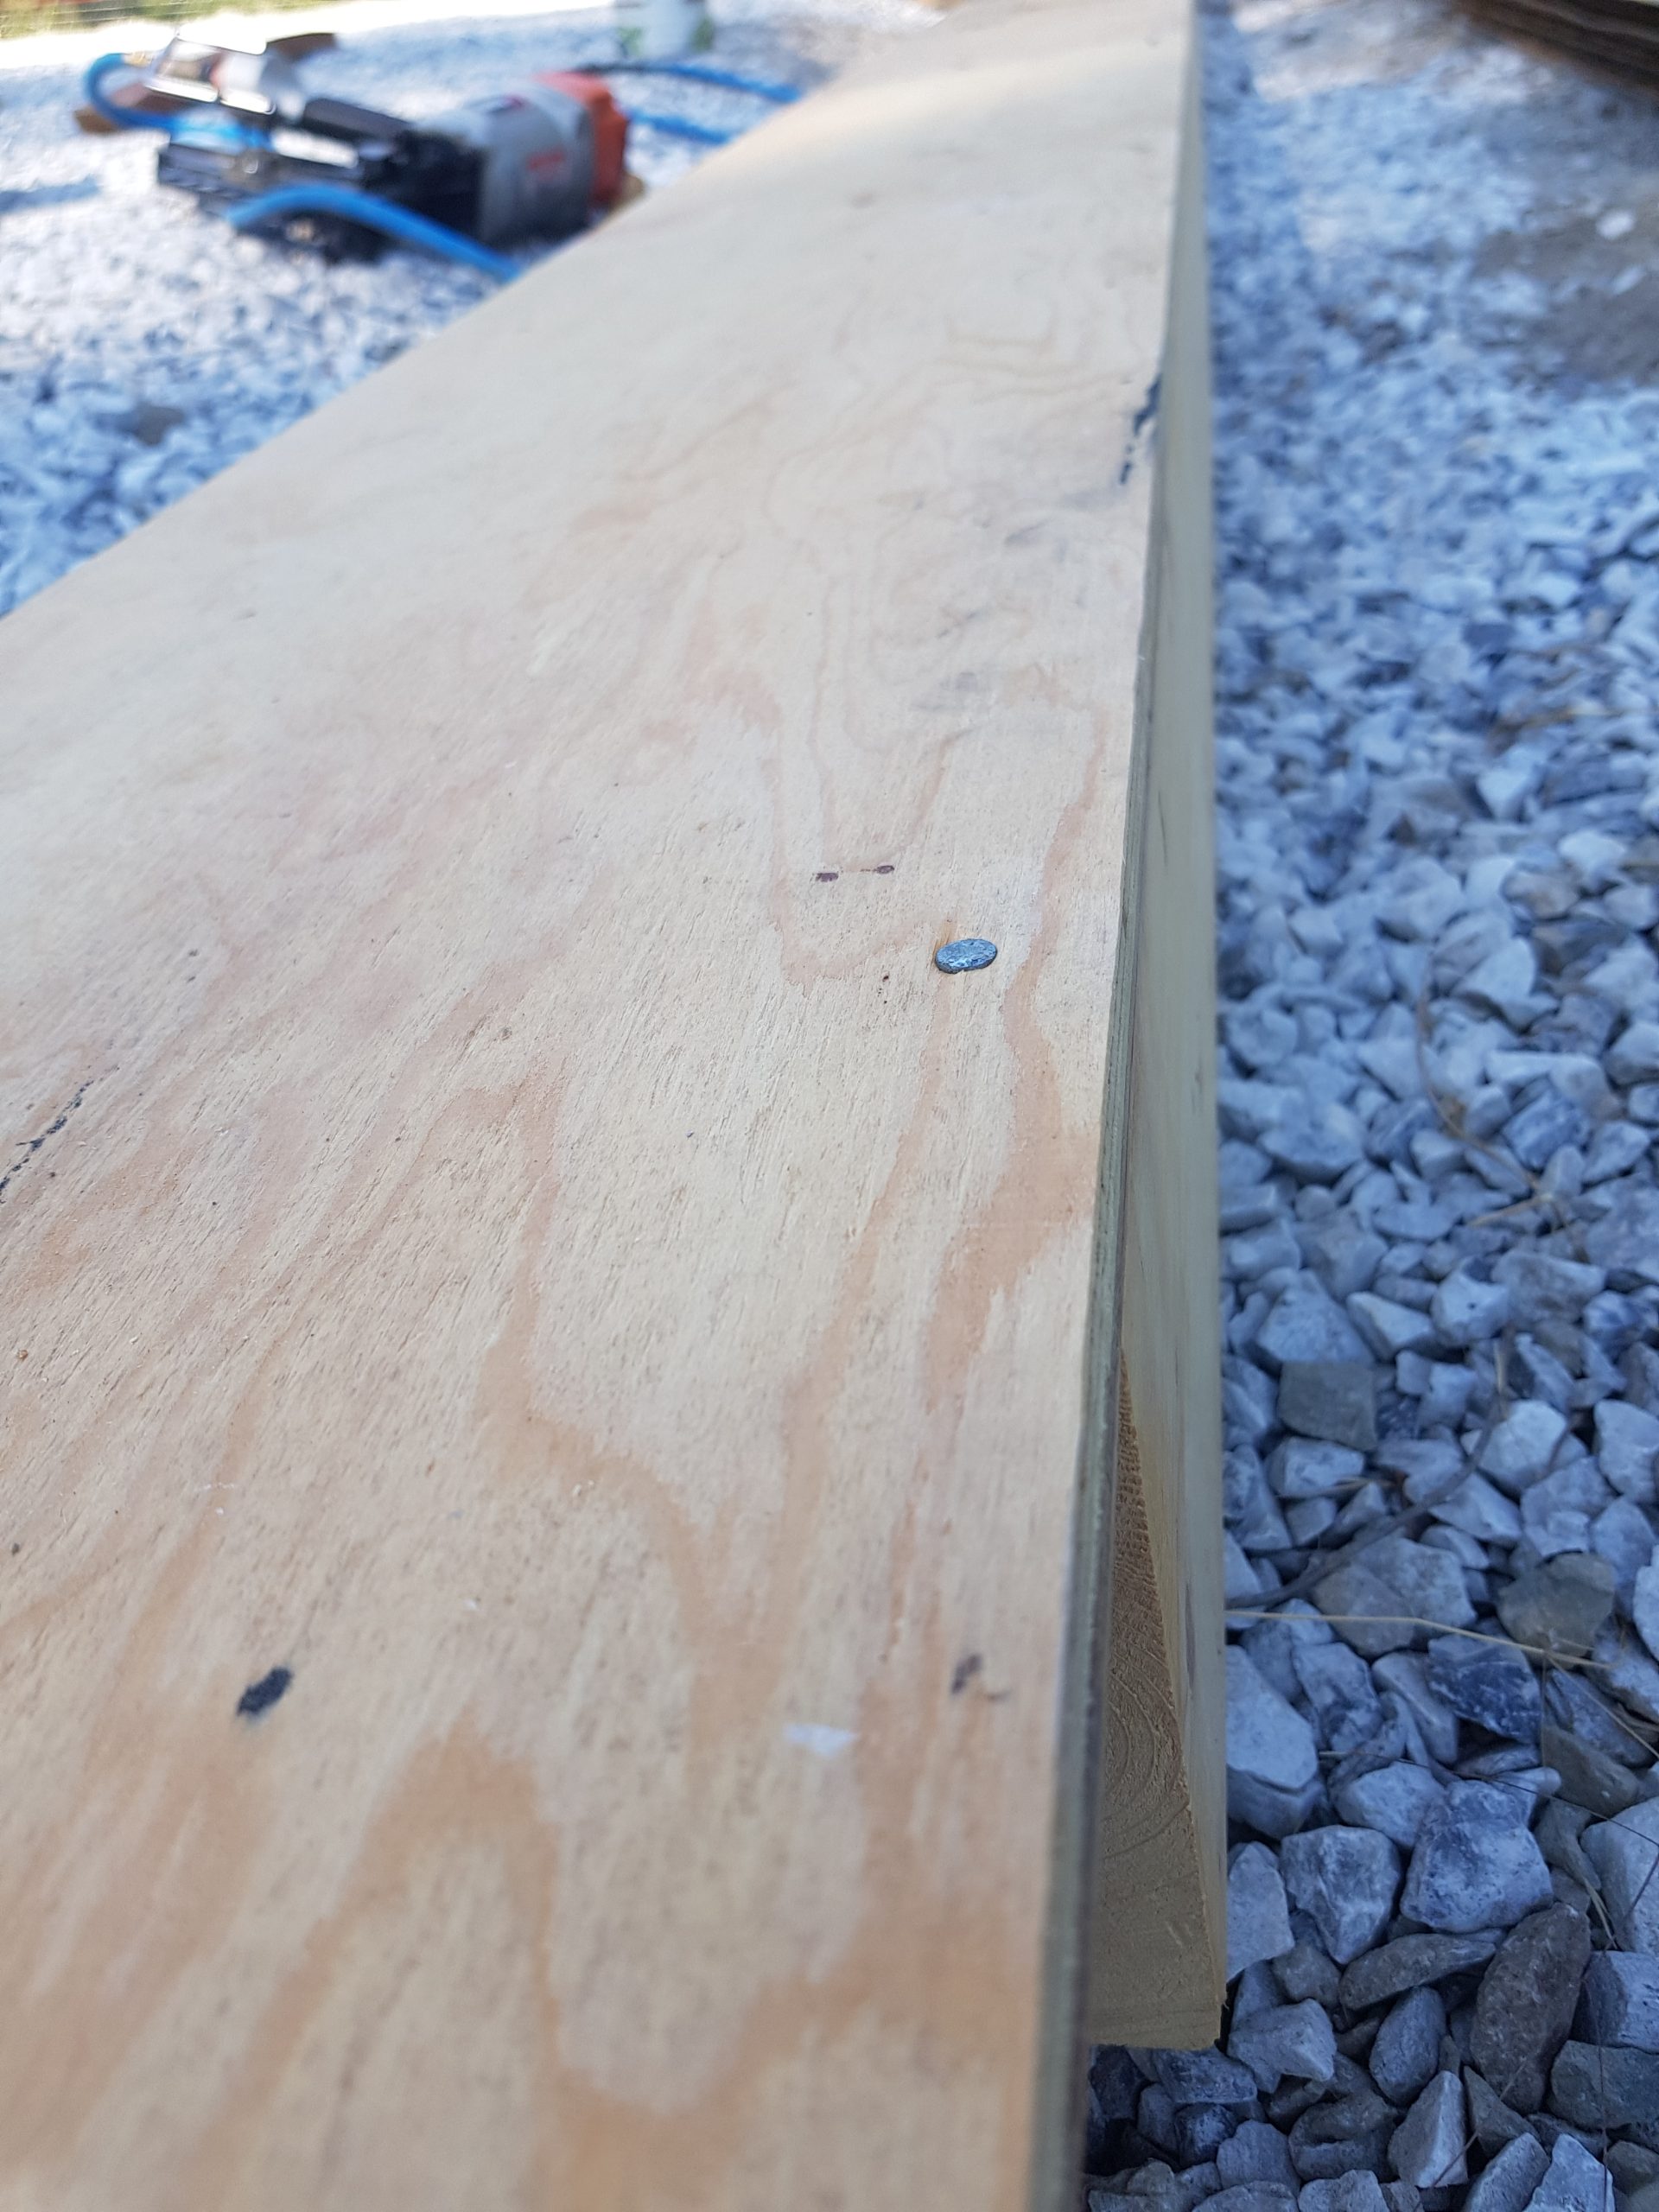
With the building site as flat as it was going to get, after 18 months, we began working on the formwork. Changing the foundation design was the best decision we made since procuring the property. The simplicity of slab-on-grade design reduced the overall price of the formwork to next-to-nothing, as all the material would be used in the framing or be repurposed elsewhere on the property. This is all the material used in the formwork:
- 5 sheets of 3/4 inch plywood
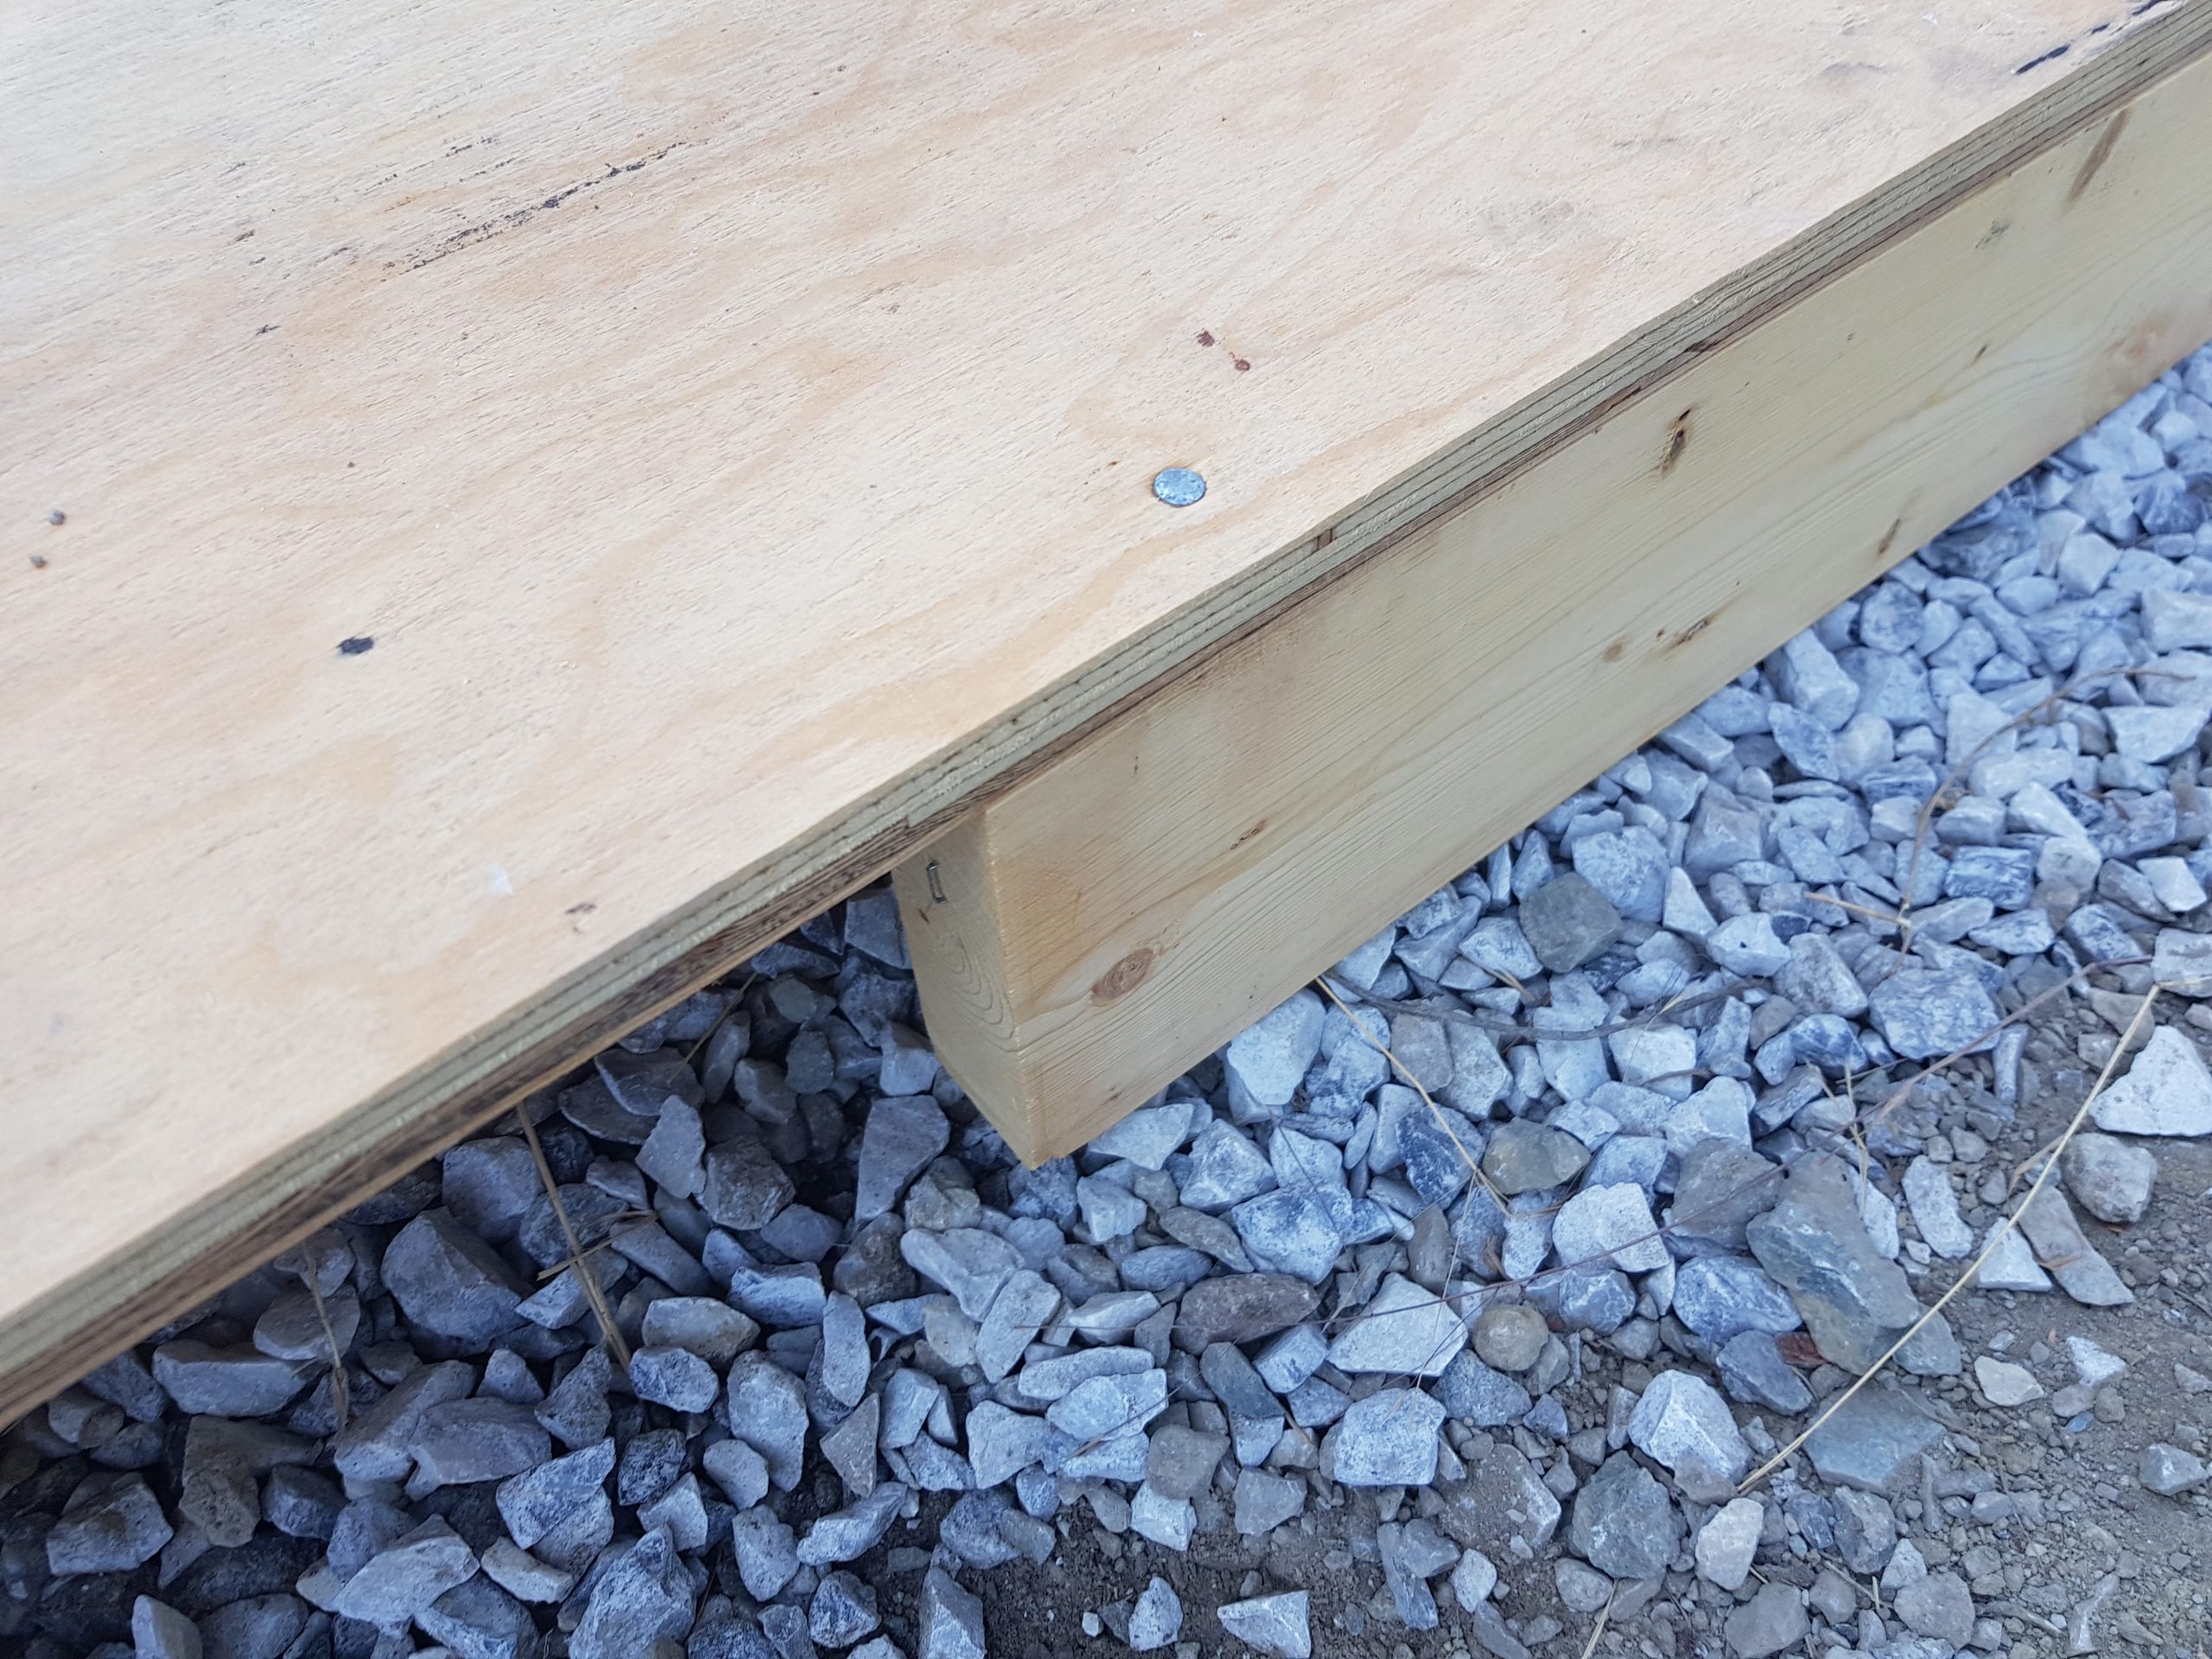
- 24 lengths of 2×6 common lumber
- Miscellaneous 2×4 common lumber for reinforcement
- Nails
- Structural screws
- Canola oil (it’s not food and never was, but I digress…)
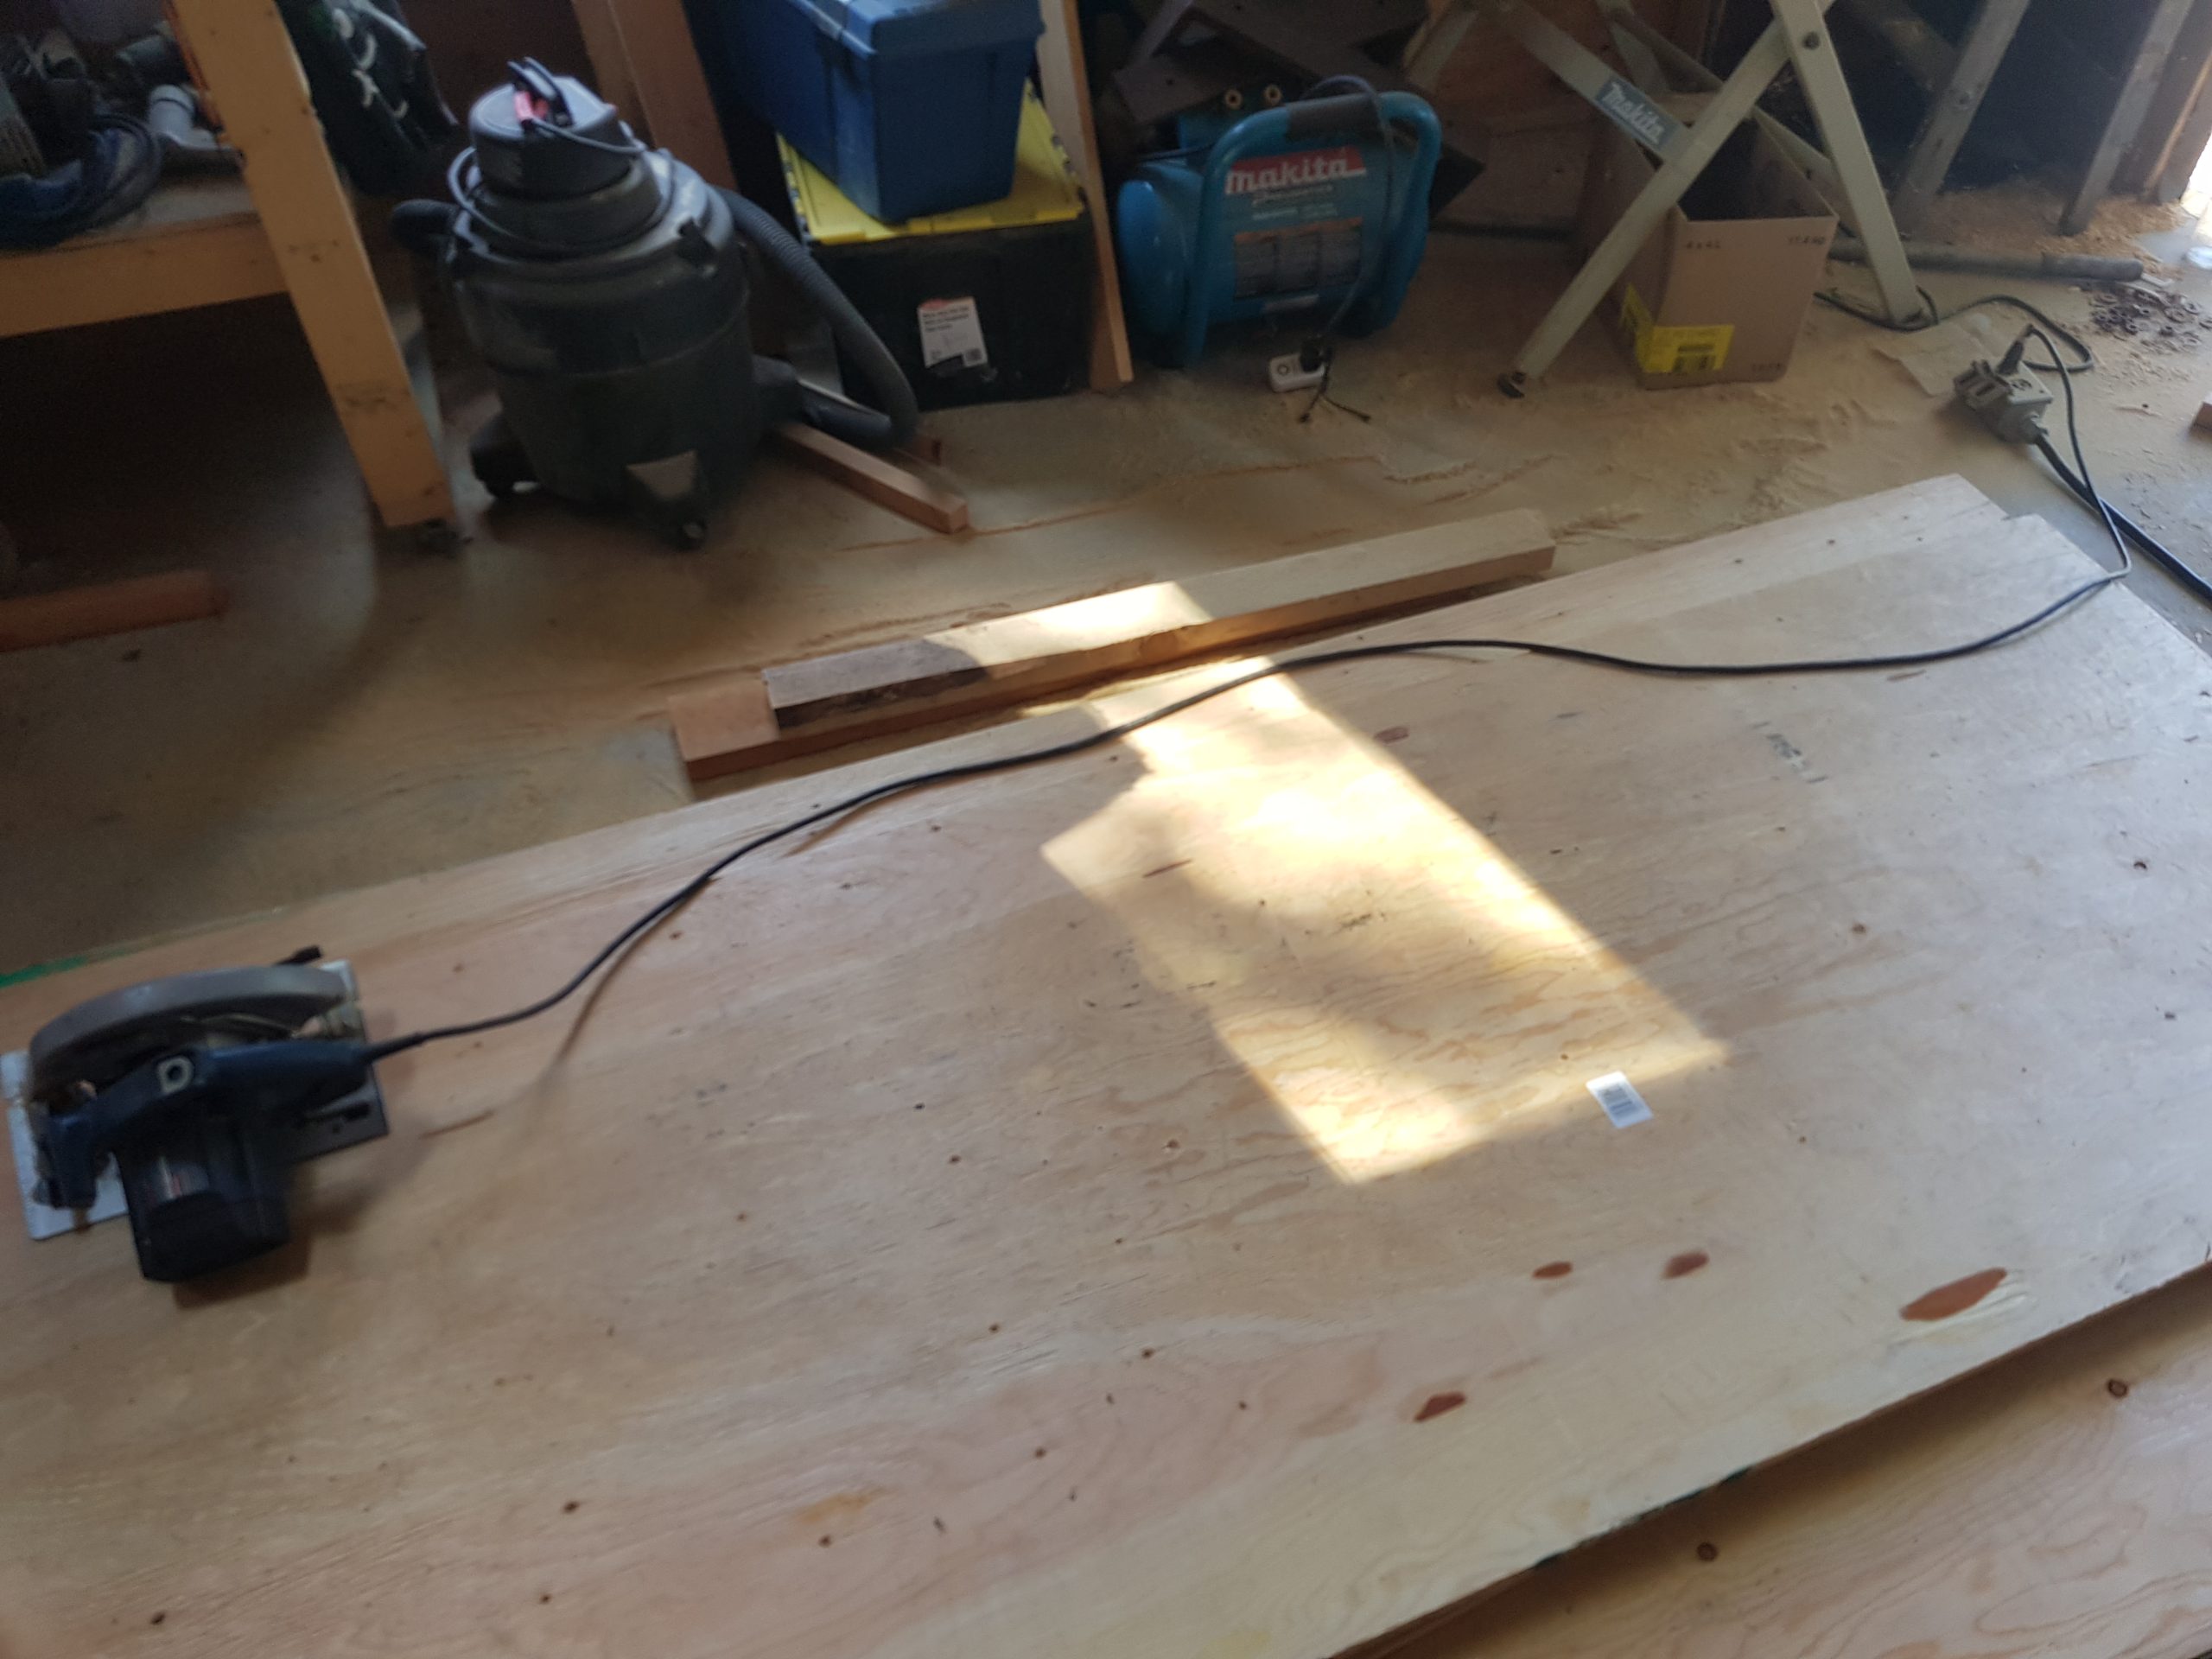
Our house is a rectangle 34’ by 29.5’, so I needed 127 linear feet of 12” wide plywood strips, plus 6.25 inches for the overlap at each corner (the width of the 2×6 and the plywood). I ripped down 12” strips of plywood with the circular saw until I had slightly more than enough for the overall length. I then mounted 2×6 to the rough face of them, staggered either side top and bottom by half the width of the board, except for the corners pieces.


I joined each section, then propped up two complete side forming a corner and screwed them together with GRKs. I repeated the process with all four corners until I was left with a rather unwieldly and unstable box. Then began the arduous task of driving stakes, where possible. The ground around the foundation site is a mixture of compacted fill, large rocks, and bed rock. I was unable to get nearly as many stakes as I would have liked, but with some creativity I was able to get just enough anchor points to position and secure the forms but would have to return later to further reinforce the forms against blowout. We went around and painted all the form-ply with canola oil, so it would release more easily afterwards.


We squared off the corners by measuring perpendicularly corner to corner and affixed them in their proper relative positions. Then, ran a string line around all four sides to get straight reference lines. Moving around with the rotary laser, we positioned and secured the form in place, ensuring it was in line with the string while vertically level with the laser. This part really does require two sets of hands, so I recommend having your retired father available for this long and frustrating process. Eventually we made it all the way around, checked again for square corner to corner, then added additional bracing to further lock the formwork in position.


With the formwork in place, we triangulated the position of the plumbing in the slab and positioned it loosely. We then laid out 3” closed-cell insulation rated for under-slab use, staggered a few feet per row, cutting around the plumbing. This part was light on the muscles but quite hard on the eyes. Even with sunglasses, the midday sun reflecting off pure white Styrofoam is like staring at an unwelcomely bright and very expensive eclipse. The entire raised platform inside the form was covered, leaving the reinforced perimeter and a large hollow in the center which together make up the footings carrying most of the load for the structure to come.


Next we covered the entire foundation area with 6m poly vapor barrier. Whether or not the barrier should be placed above or below the insulation is a matter of debate. Some foundation detail diagrams show the plastic placed below the insulation, while other have it placed on top, between the insulation and the concrete. From everything I have read, it will serve its purpose as vapor barrier to moisture and radon gas either way. I chose to put it above the insulation, for the simple reason that I did not see a point of putting any restriction on drainage below the insulation, which is open to lateral water infiltration. This also saves you from having to place the poly directly on the sharp gravel, where it takes a thrashing as you work on it afterwards.
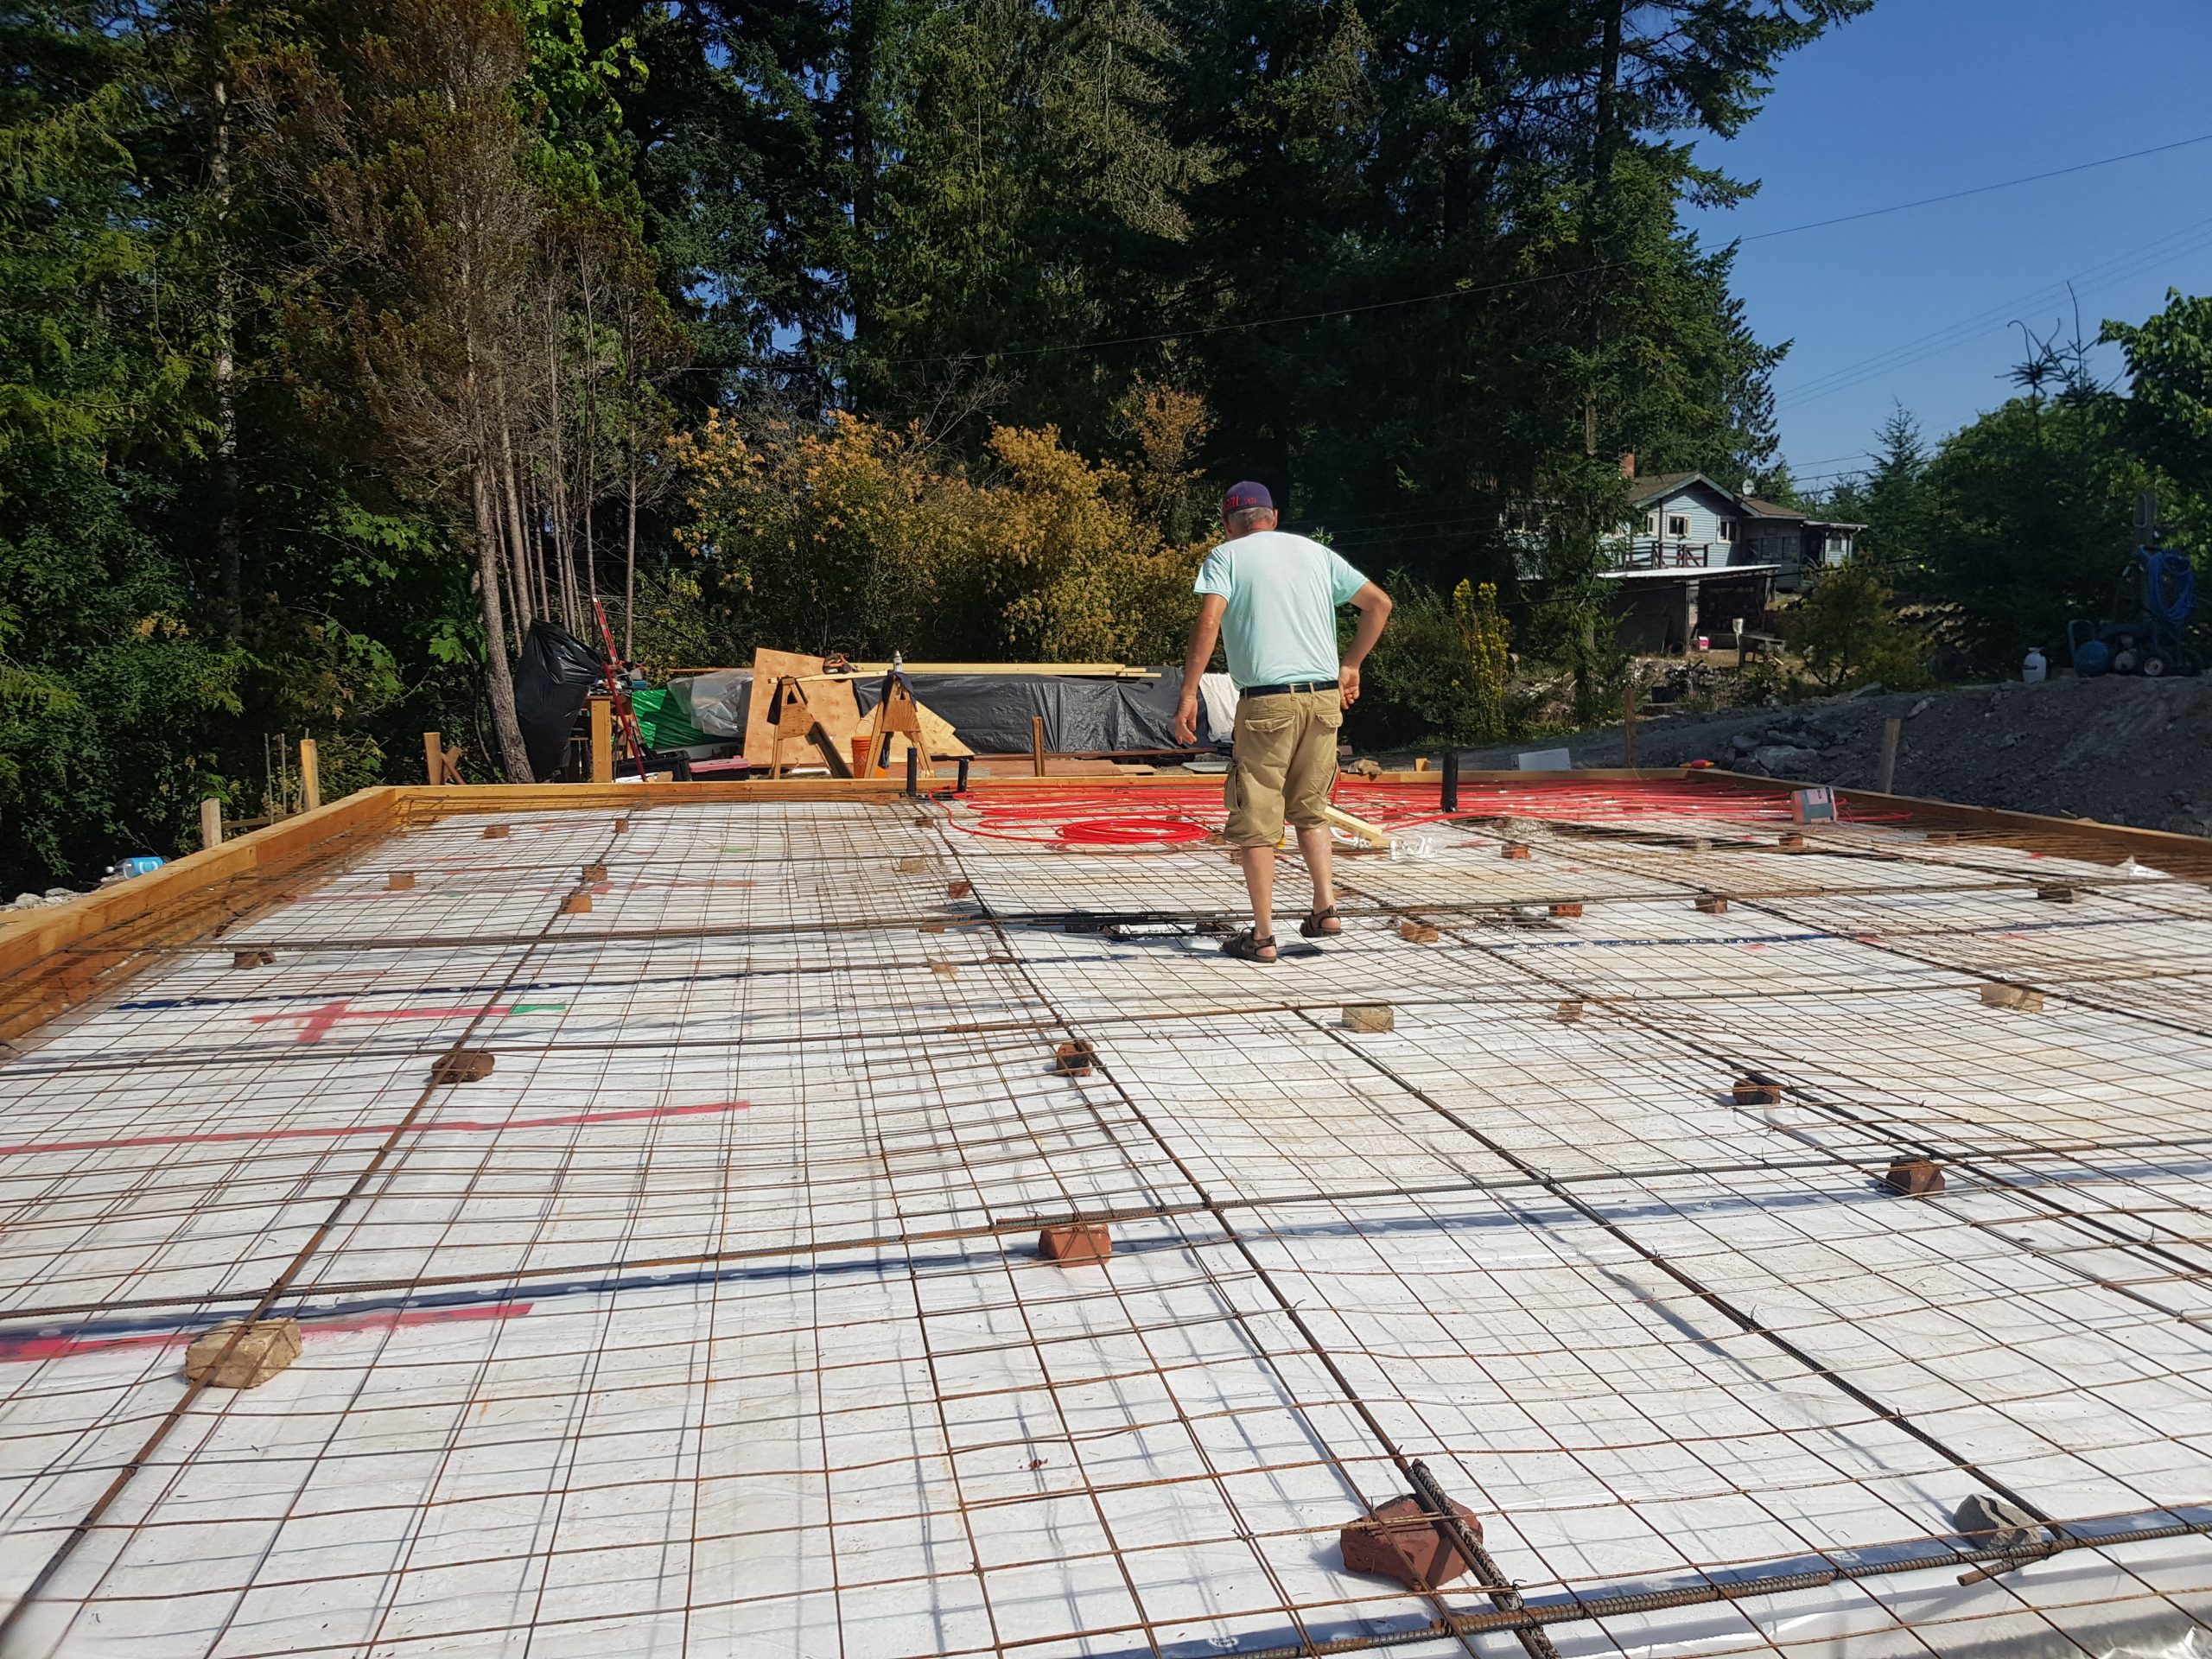
The next part is probably the most physically exhausting task, and that is placing and more precisely, tying the rebar (steel reinforcement). There are a range from simple to fancy, and coincidentally pricey, gadgets that make tying rebar easier and faster, but we did it the old fashioned way, with bullnose plyers and a roll of tie wire. Rebar is laid out in a grid over the middle of the slab like a giant tic-tac-toe board for too many players, and several (3 in our case) continuous lengths of rebar are placed around the perimeter. You spend all of a a couple of days crouched over, looping and twisting wire around rebar-to-rebar connections and overlaps. The entire structure is then suspended off the ground with plastic rebar chairs, rocks, bricks etc.
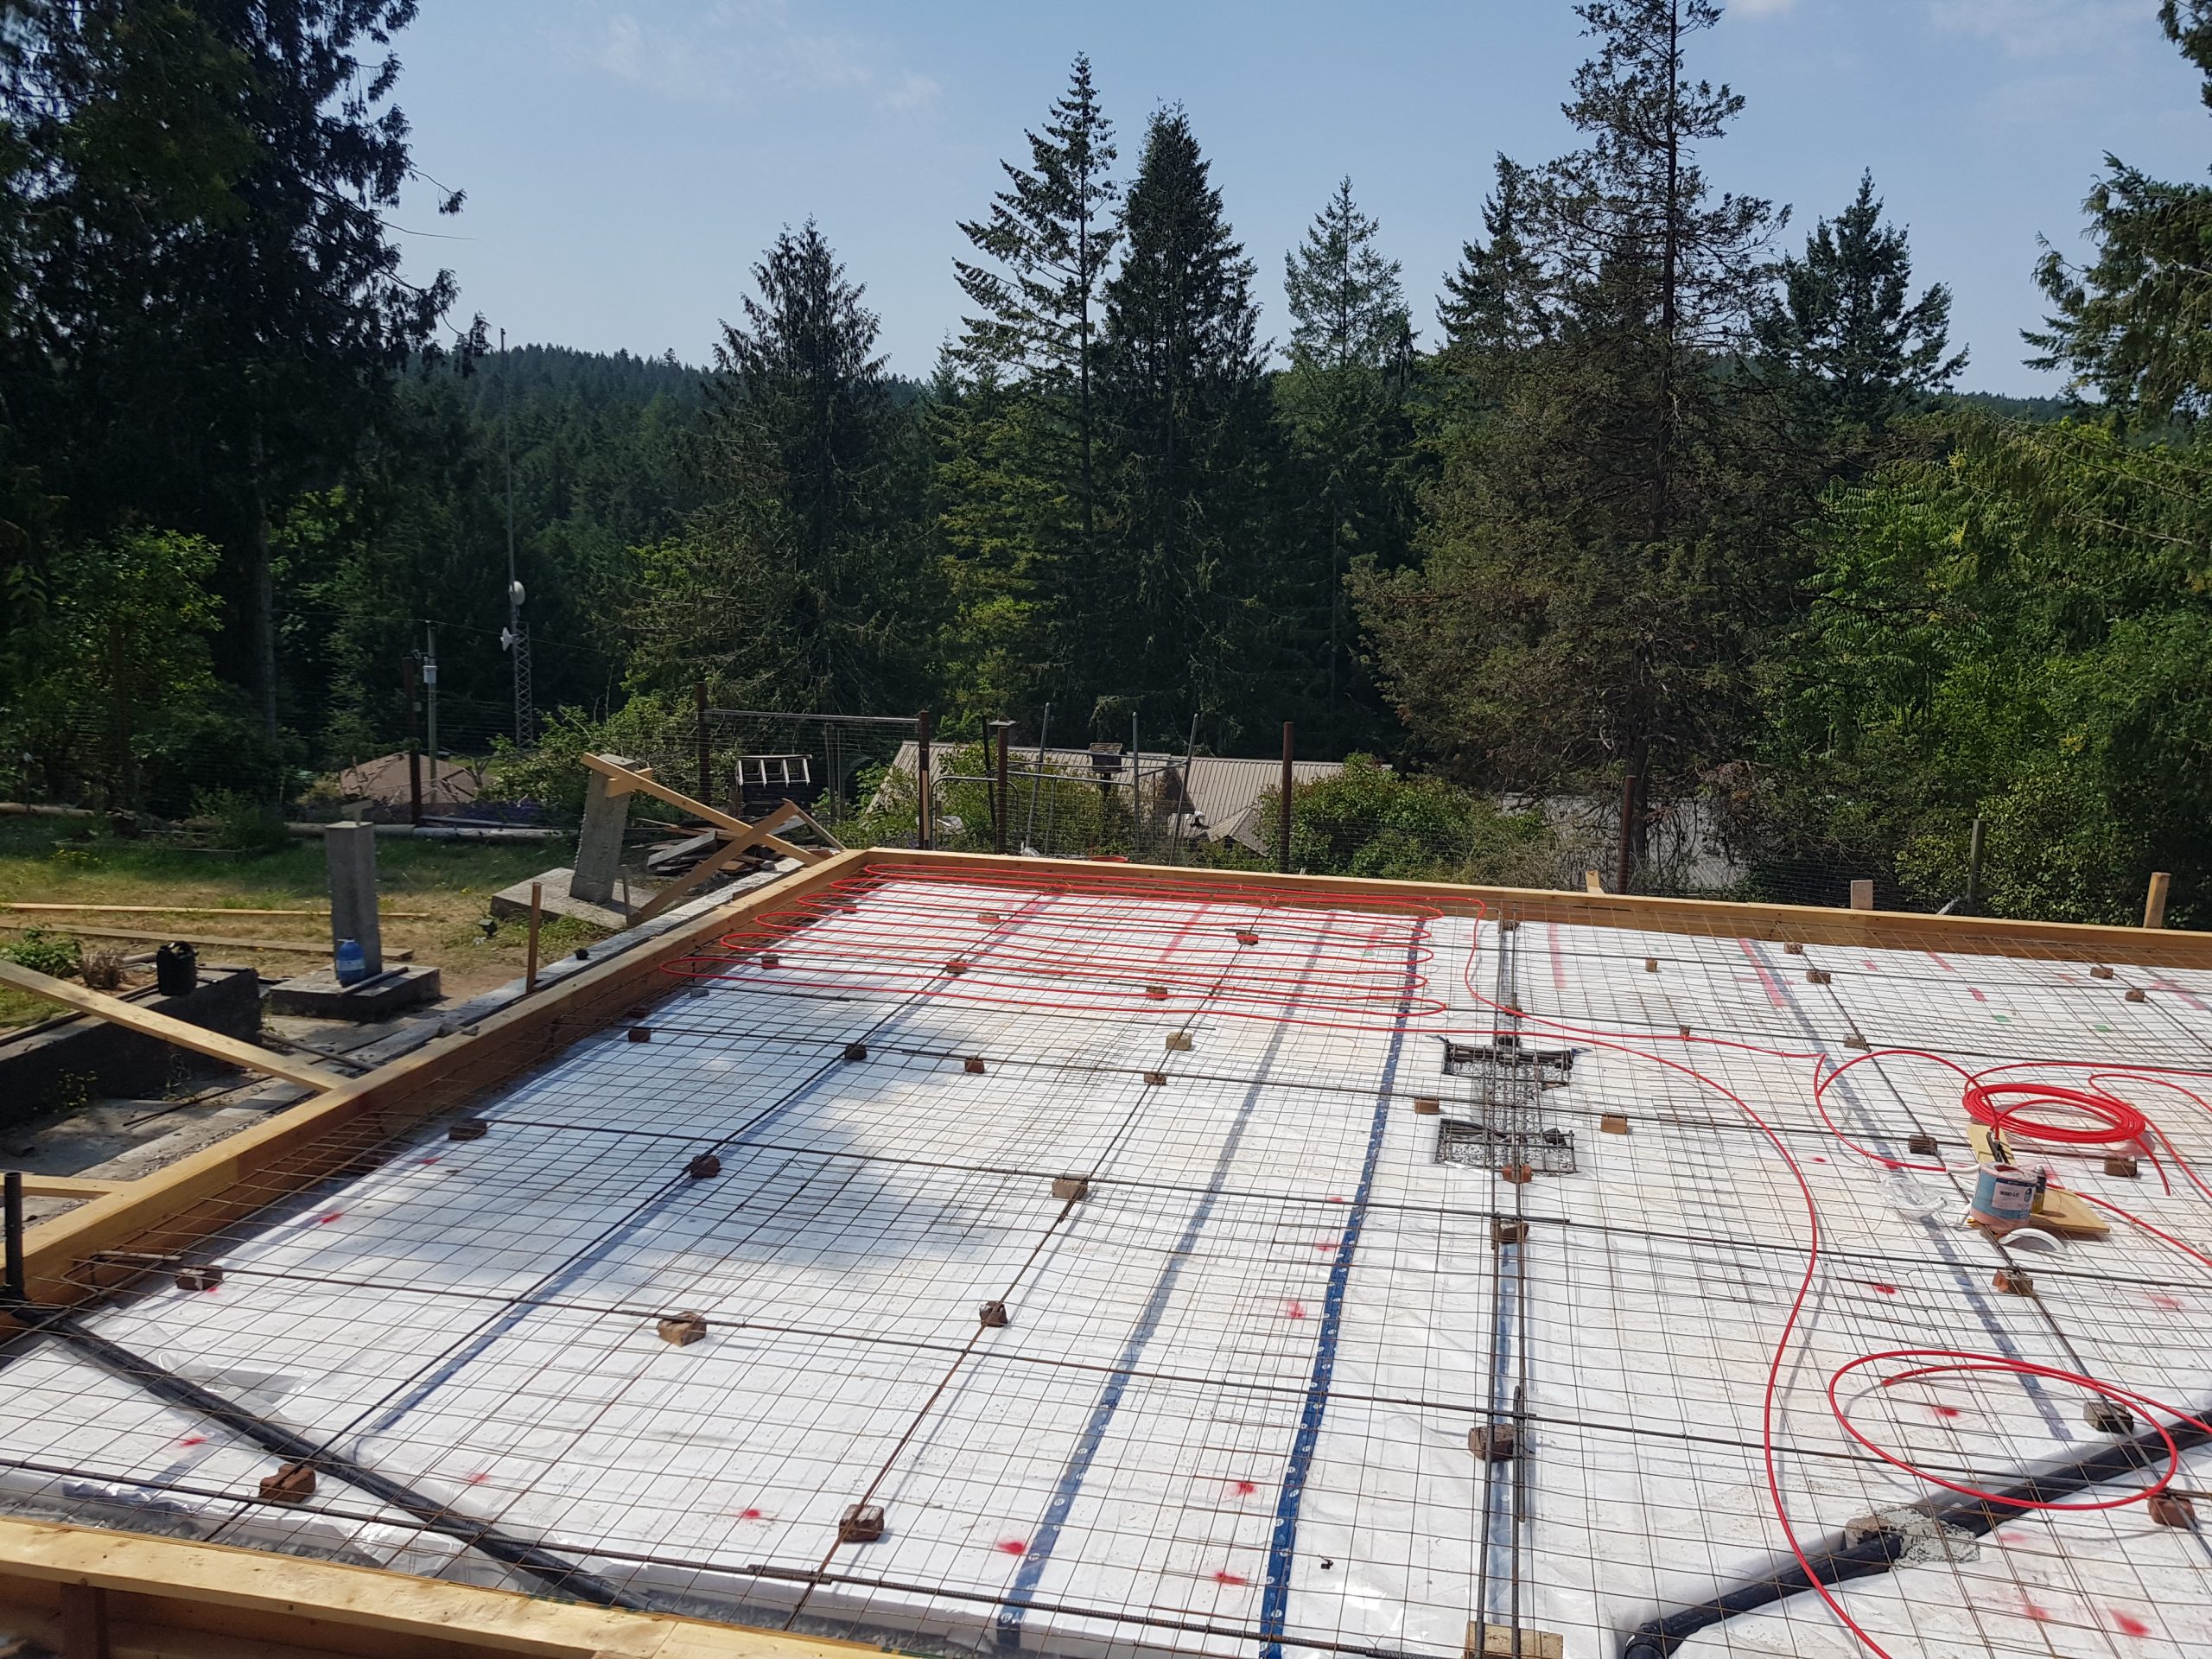
The design I was following did not even run rebar through the raised area of the slab, only in the perimeter and reinforcing mesh in the interior slab. I ran rebar throughout and I added further reinforcement under the center dividing wall and to the footing under the post that will support the ridge beam. We went a little overkill, using heavier gauge than necessary throughout, simply because the spot pricing difference was so low when I bought the material. To further reduce risk of cracking and to give me a continuous and smaller grid to run radiant heating pipe through, we then fastened steel reinforcing mesh over the whole area, 2 inches shy of the form-ply.


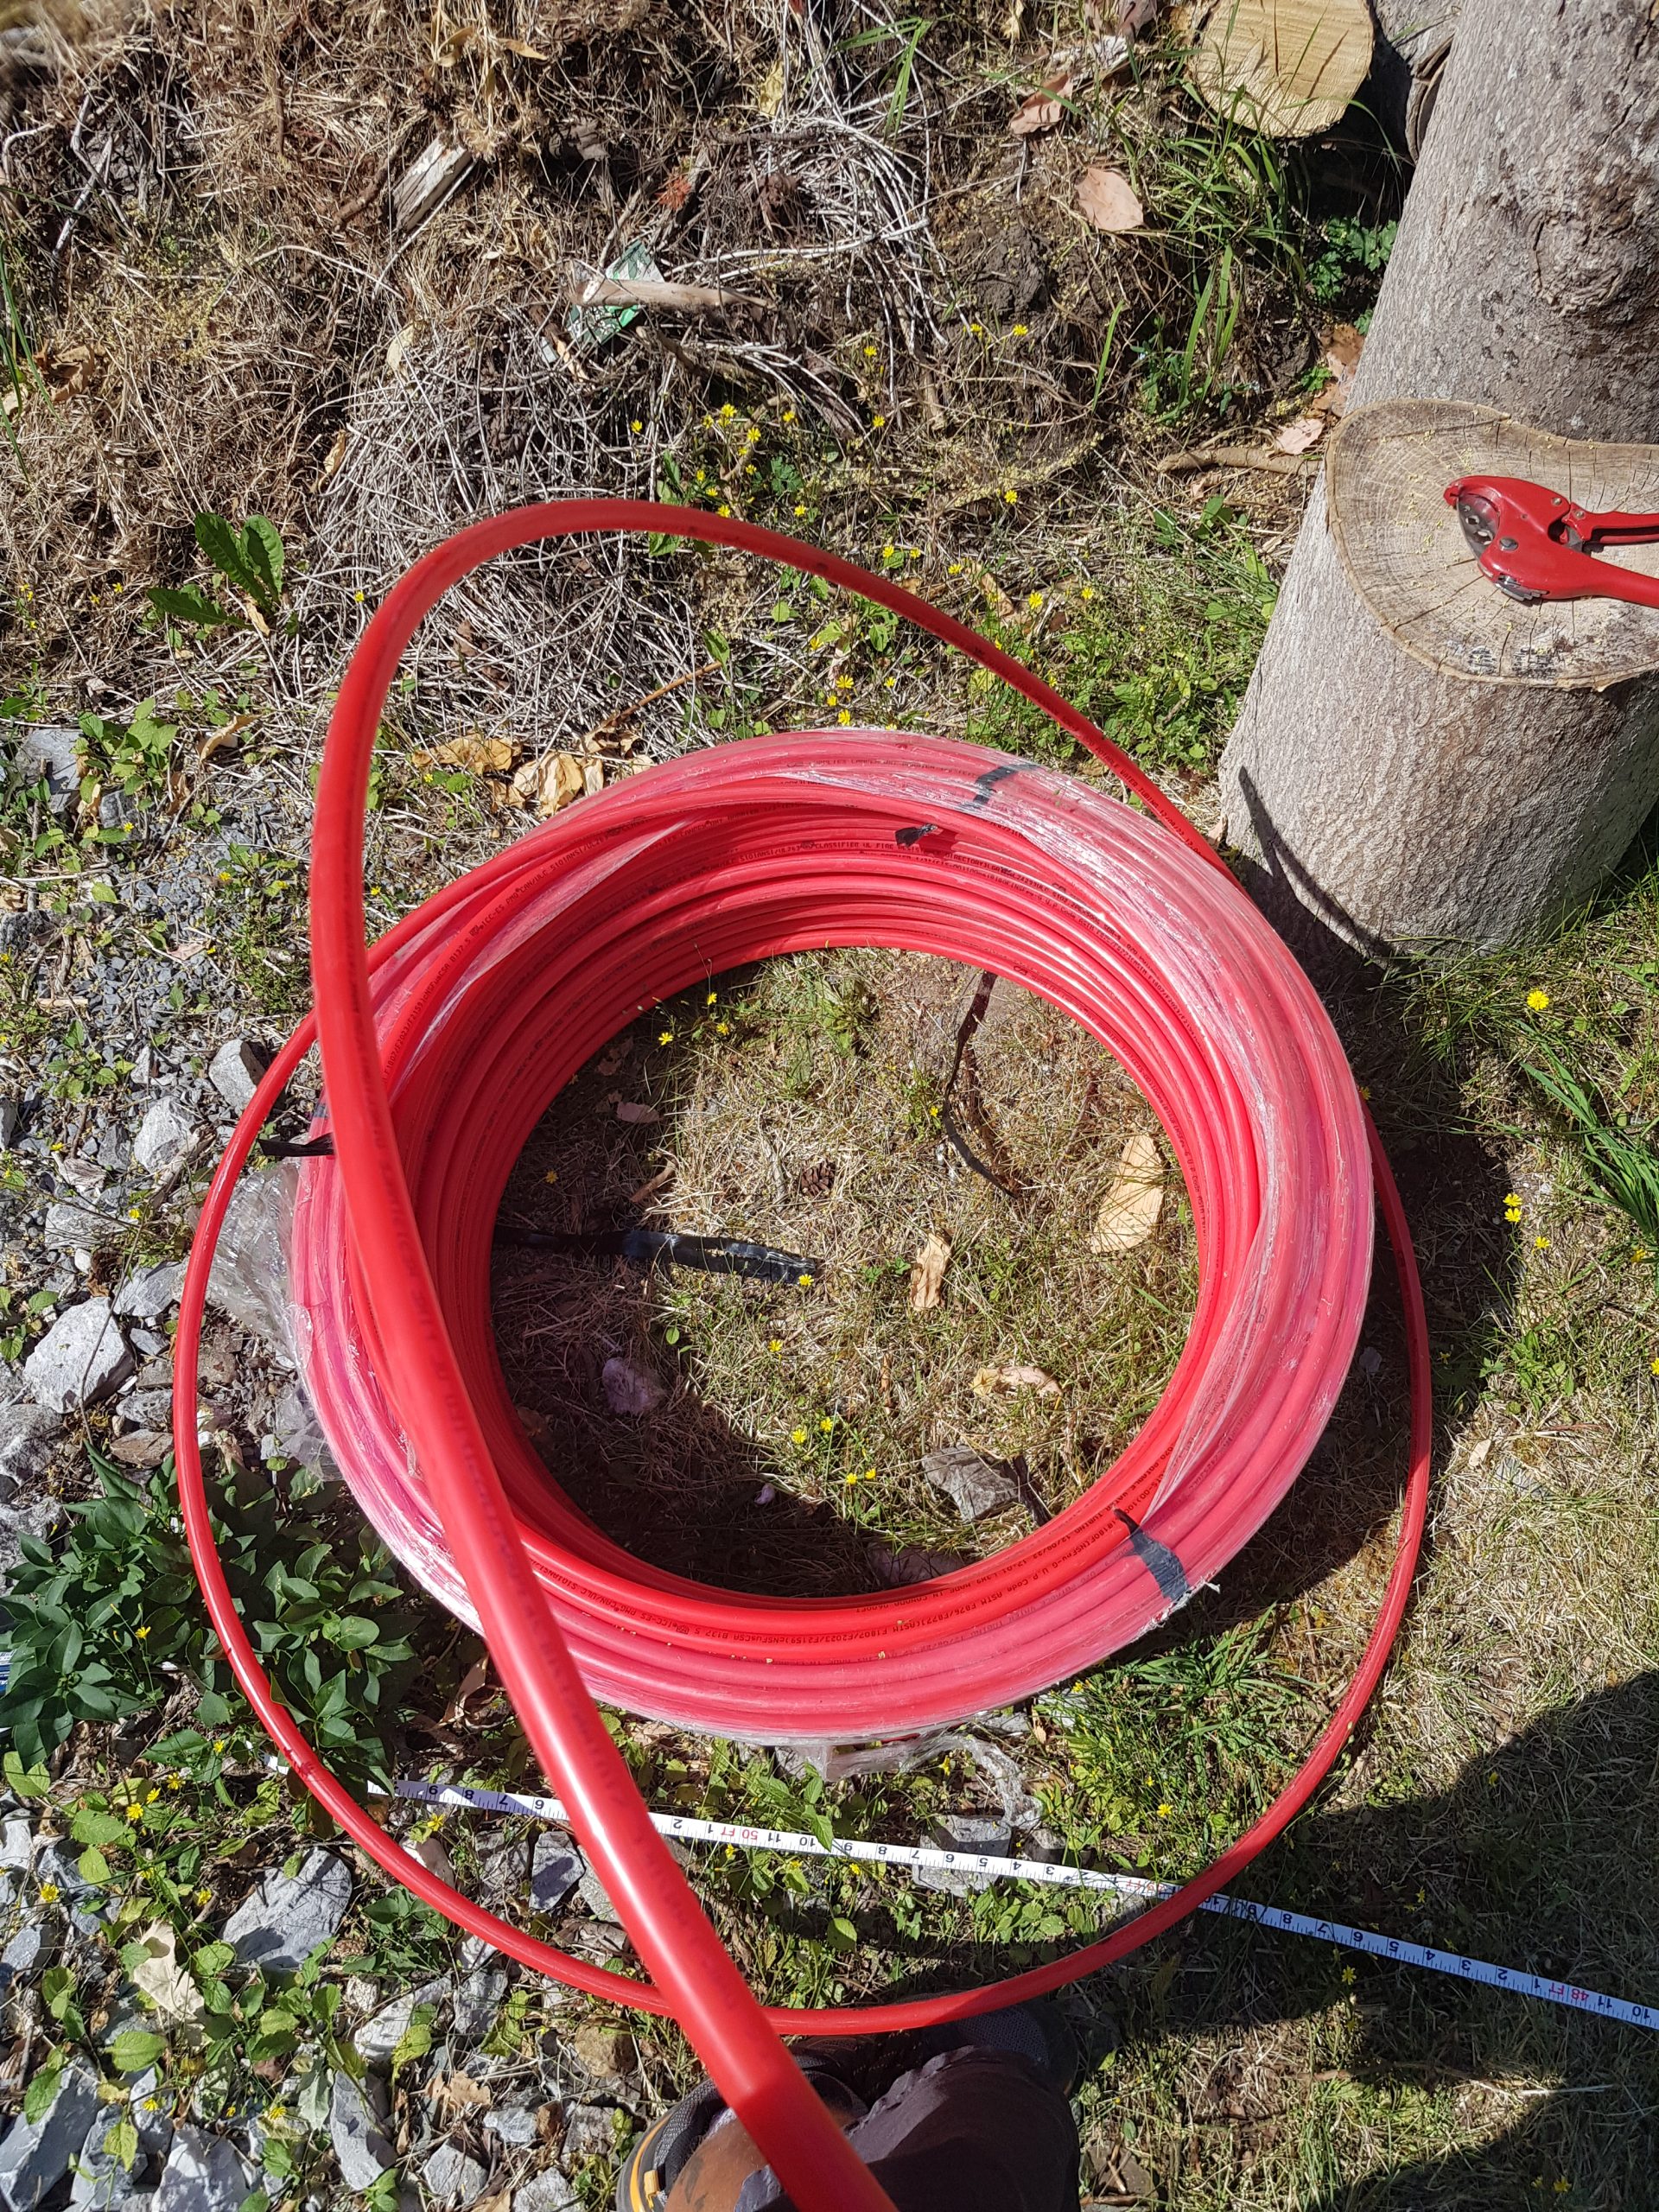
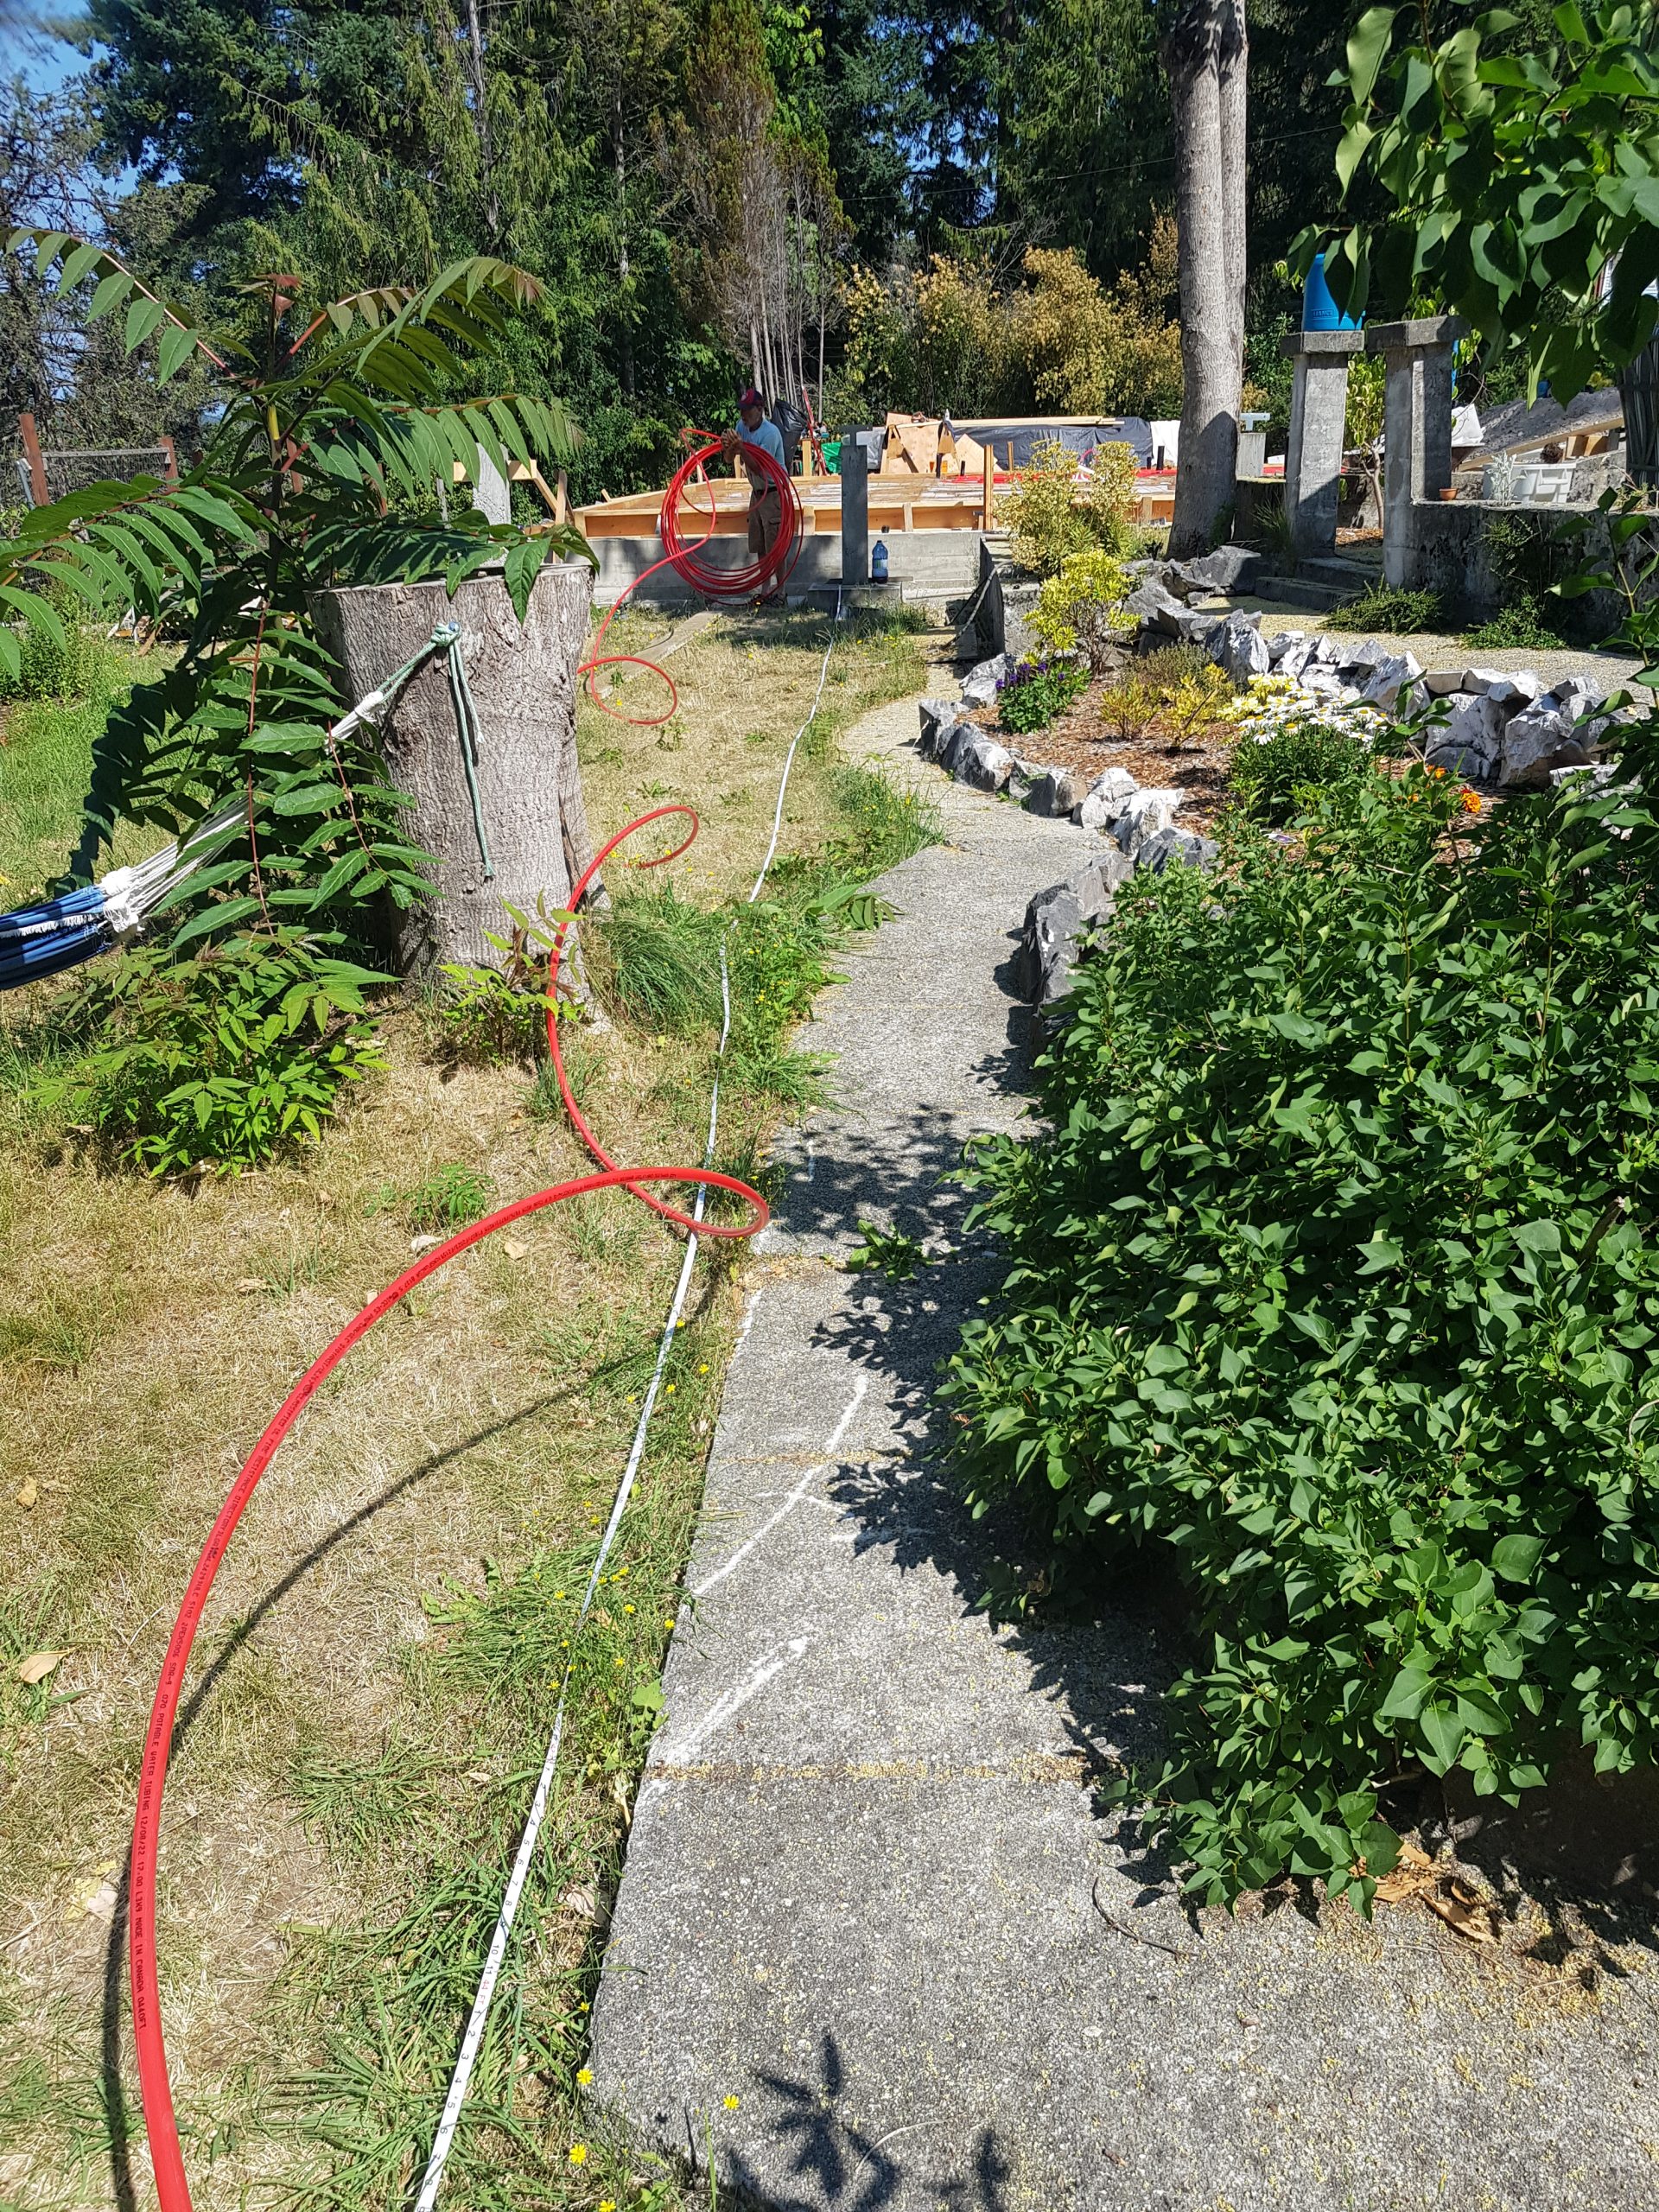
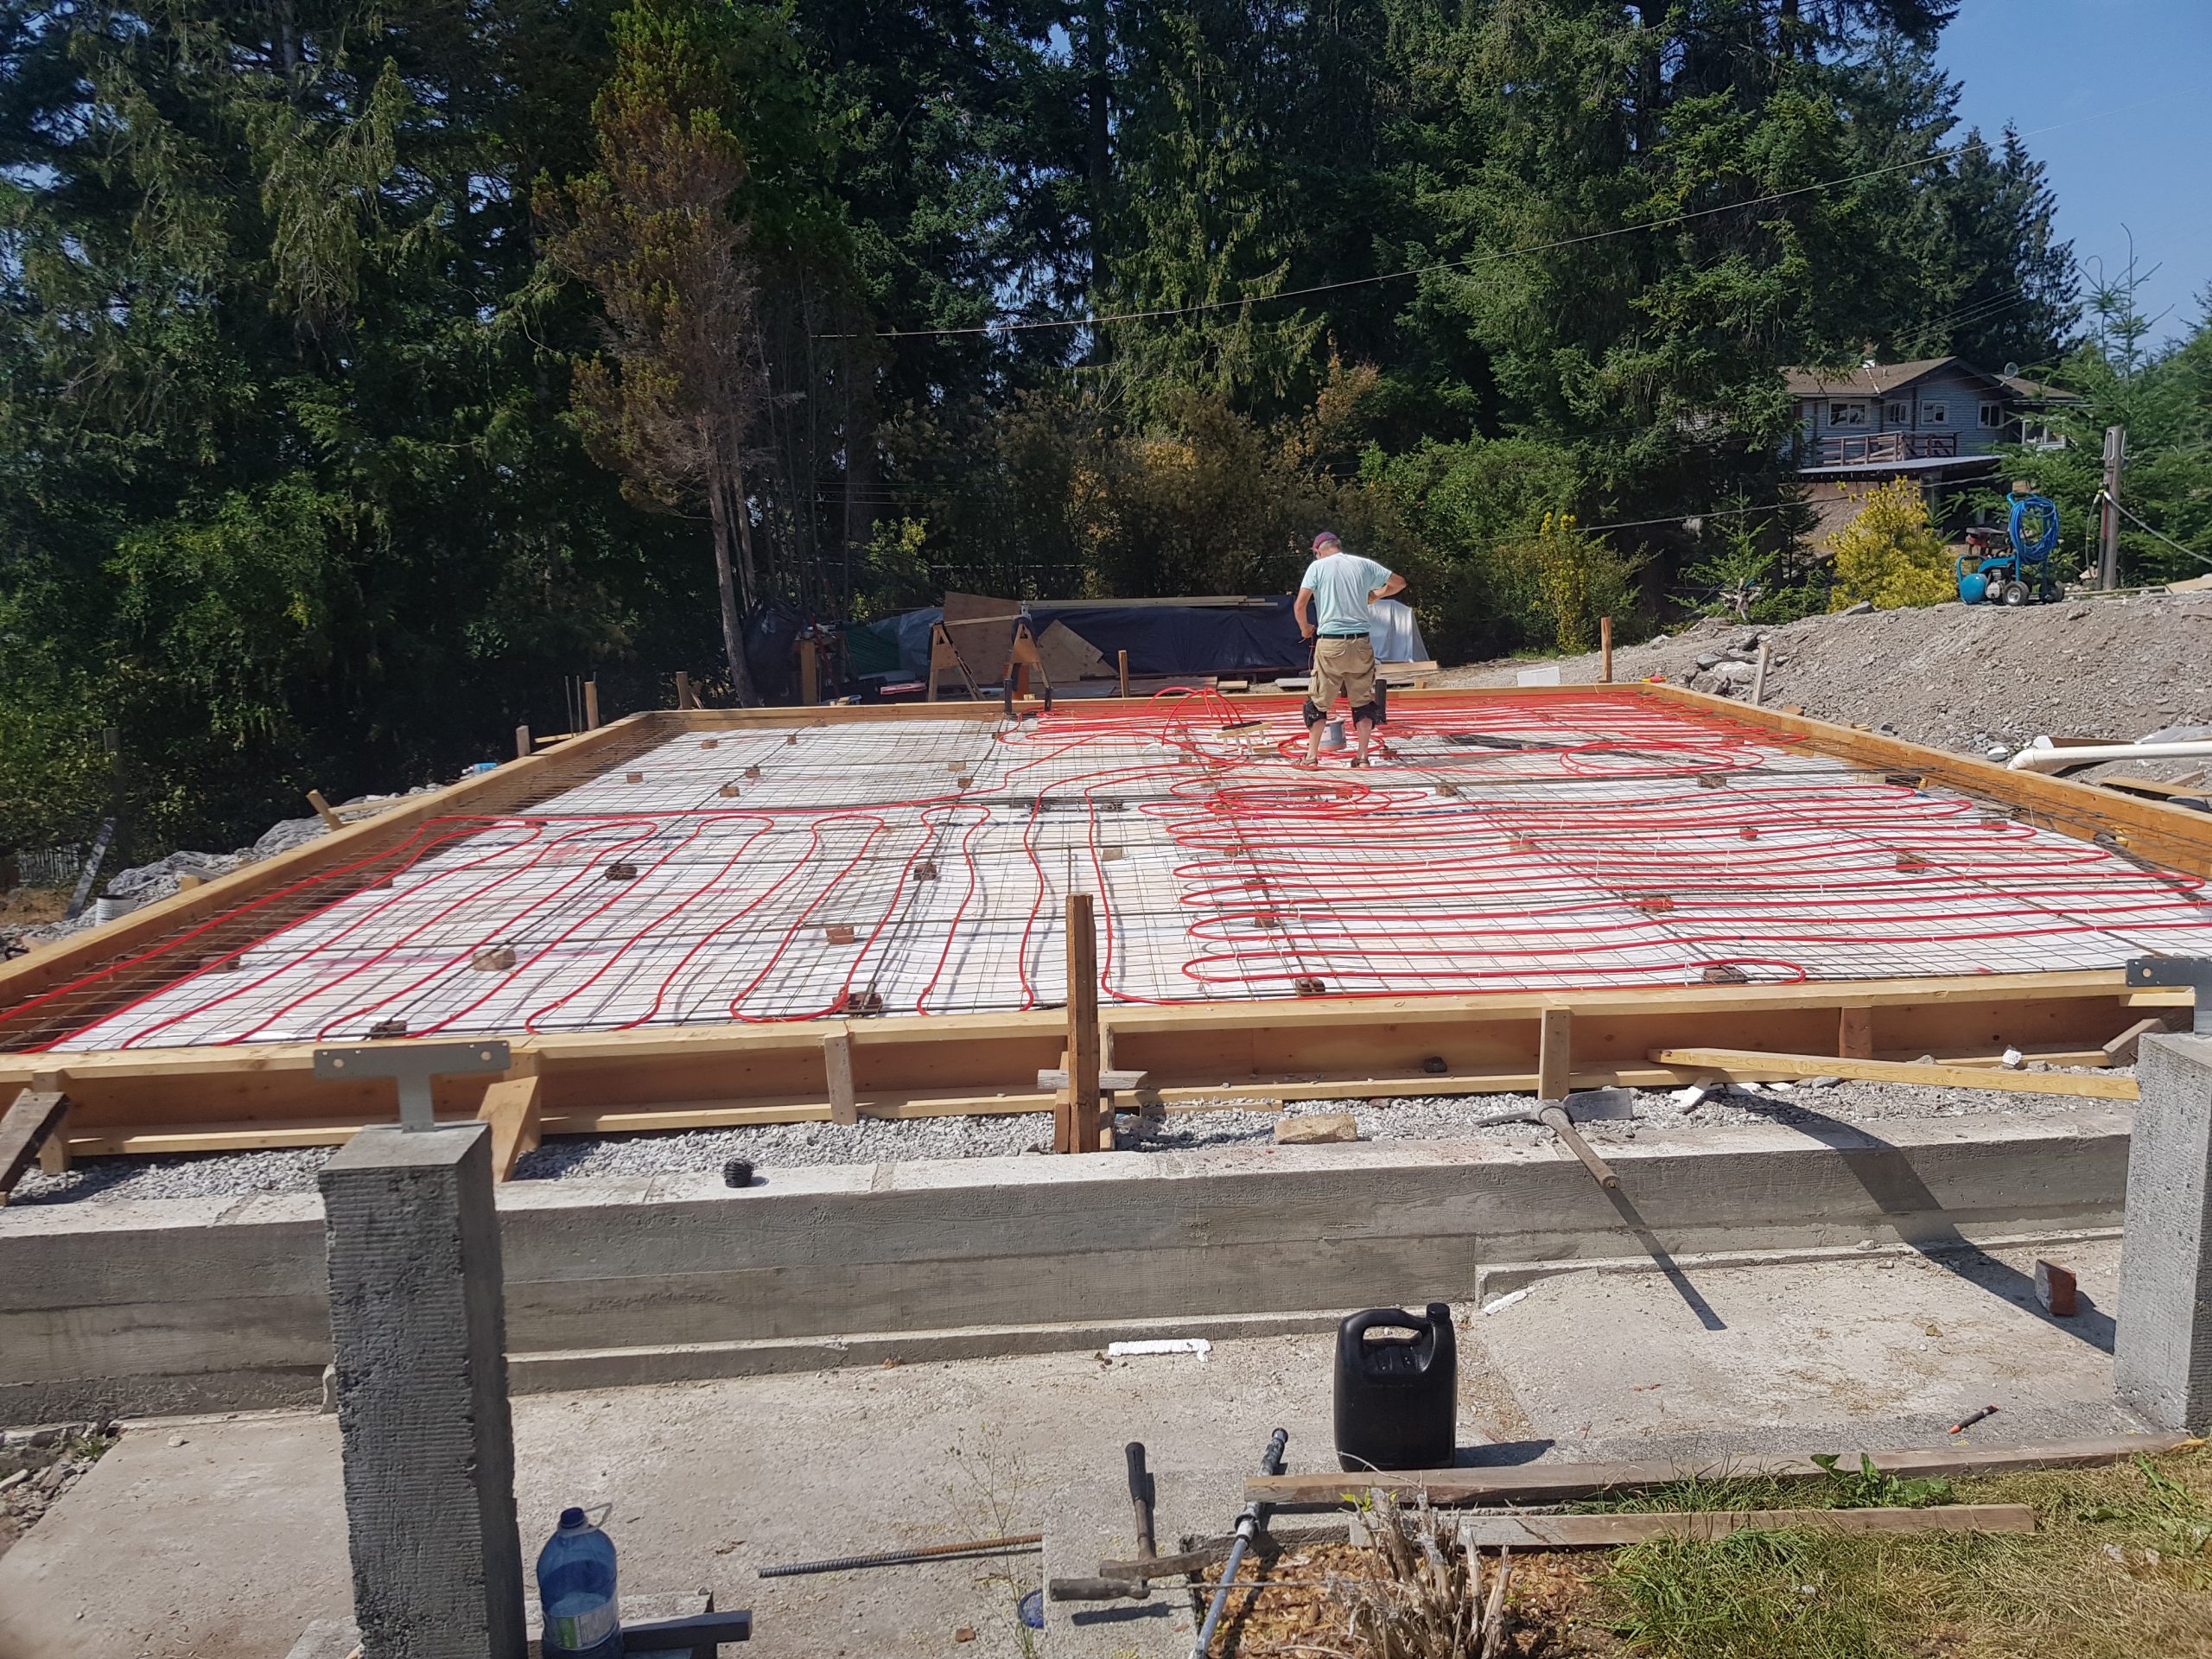
By this point we really started to hustle, as we began on the heating pipe on Thursday with our concrete trucks arriving that Monday morning. We ran four 250ft loops to make four heating zones, all terminating under the future staircase. The piping needs to be well secured so it is not disturbed during the pour, so we were once again crouched over with zip ties and eventually synthetic cord when we ran out of those. I tied the last few loose pipe strands at 5:45 Monday morning.
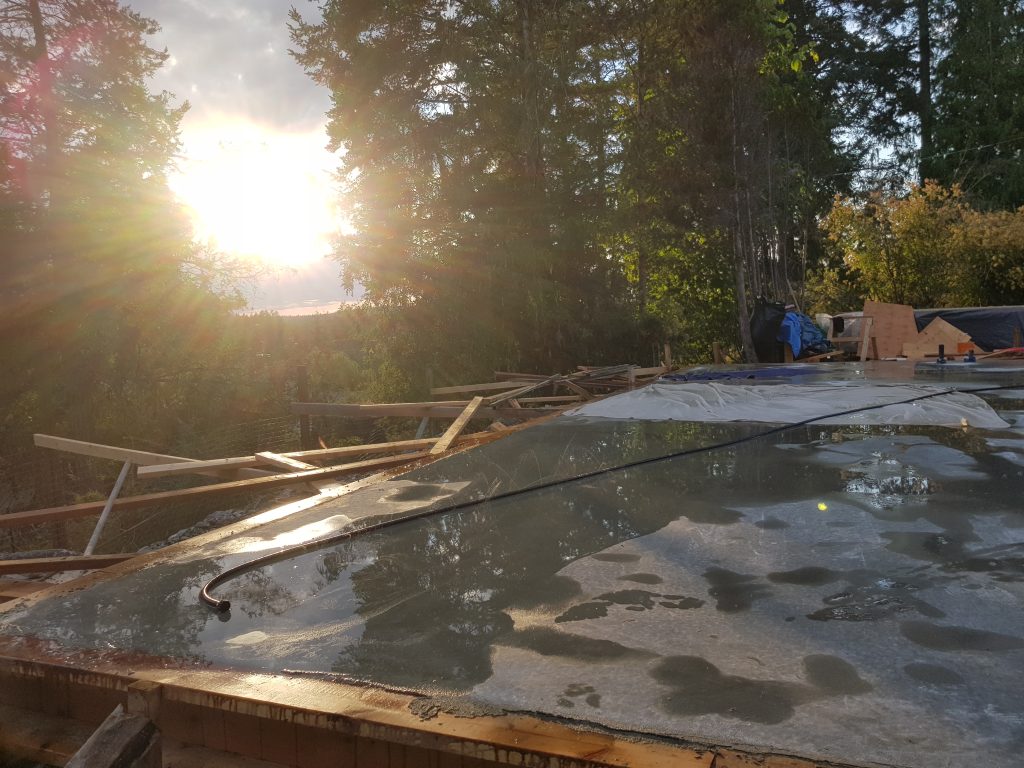
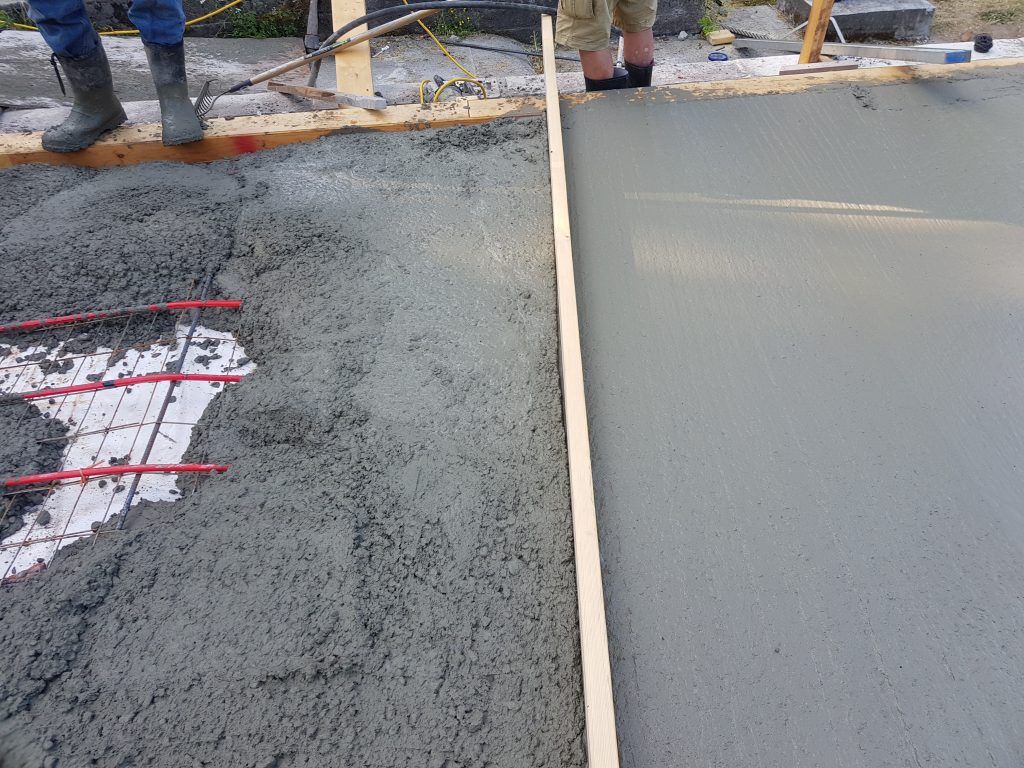
I ran around adding bracing until the trucks arrived just before 8AM, along with a gang of friends and family who rallied to my call for aid. Concrete day is always a bit chaotic. It is a race against time, especially in hot weather, to get the concrete placed before it starts setting up on you. It can be even more stressful here because the trucks have spent quite a bit of time in transit on the ferry and the building site would be in full sun within an hour of starting the pour. But as Master Corporal Ladouceur used to say: “calm is smooth and smooth is fast”. With everyone working in relative harmony, 2-3 people working wheelbarrows, another couple raking, and the position of honor: the lucky man who stands in the concrete and drags it to relative uninform height. As we move over the slab, another follows behind with a bull-float, smoothing the surface like a giant liquid stone Zen-garden.
The entire time I was praying that there was enough concrete. I had already shrunk the house by 6 inches in order to fit the concrete on two trucks, and left a narrower margin of error than I ever would for a client. My estimate was bang on. In the end there was one half wheelbarrow of concrete leftover. I would later learn that I was about one half wheelbarrow short, creating a small low area around the heating pipes, which would be under the staircase, so no big deal but nonetheless ironic. The second truck had a double dose Delvo, a chemical that retards hardening of concrete, which is absolutely necessary when you live on an island. This led to a rather gummy mix that took forever to set, then took off suddenly. When it finally set, my buddy Roger went over it with his power trowel. By about 1PM the show was over and all that was left to do was keep the slab wet for the rest of the week.
And that concludes the origin story of our heated slab. Follow along next time as our young slab confronts its fears of being overburdened with rough sawn Douglas Fir in a heartfelt coming of age story.